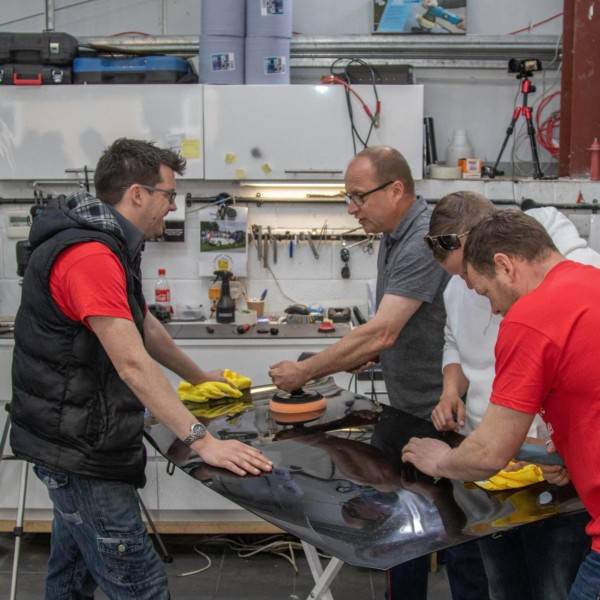
Why 50% Pad Overlap Matters When Polishing.
- Part of understanding anything is knowing why it’s done or advised.
- Without knowing this, we could be missing out on better technique, wasting time or wasting money.
- None of those things delivers better results or enhances a business.
One of the constant bits of advice over time is:
When machine polishing – ensure 50% pad overlap
This means; when you’ve moved from to one side to the other of your section with a machine polishing pad, you don’t run the next section up to the edge of that pass. Instead, you polish up to the middle of your last “lane”, overlapping by… 50%.
It’s fairly standard advice, and has never really been something subject to an “except in certain circumstances” clause – such as the number of passes, pad type, or machine speeds. It just… is.
But why?
Is it a relic of an older style?
Just regurgitated “internet knowledge“?
Or is it actually more relevant now than ever before?
Pad overlap has always been good practice; by covering the previous pass with the next pass of a machine polisher, you ensure even attention is given to every section, and ultimately results in a consistent finish, whatever machine you’re using.
When rotary machines were the only option available, overlapping slightly – especially over curved surfaces – allowed your polishing to be consistent and ensure the face of the pad made contact with all areas without missed lines, or half-refined stripes if the full face didn’t quite touch. But, now that dual-action machines are the industry norm (for better or worse) – is the overlap rule still applicable?
Yes. Actually, more so than ever.
The Ghost Edge: What It Is and Why It Matters:
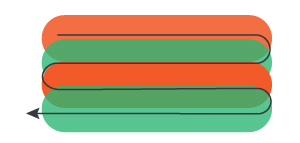
Have you ever looked straight down over a dual-action machine and noticed the “ghost edge”? That’s the machine’s orbit throw, the extra spin it gets from the eccentric “arm”, scattering the pattern all over the surface, instead of the rings left by a single spinning axis.
The reason you can effectively see through the pad in this area is that the pad is physically not there most of the time – the same reason you can see through a spinning propeller on an aeroplane.
The downside of this means that, in that edge-gap, the pad is achieving less and polishing less compared to the more central “constant contact” areas of the pad, no matter where the throw takes it.
A lot less, too. You may be surprised by how much.
…how much, you ask? ok, we’ll tell you.
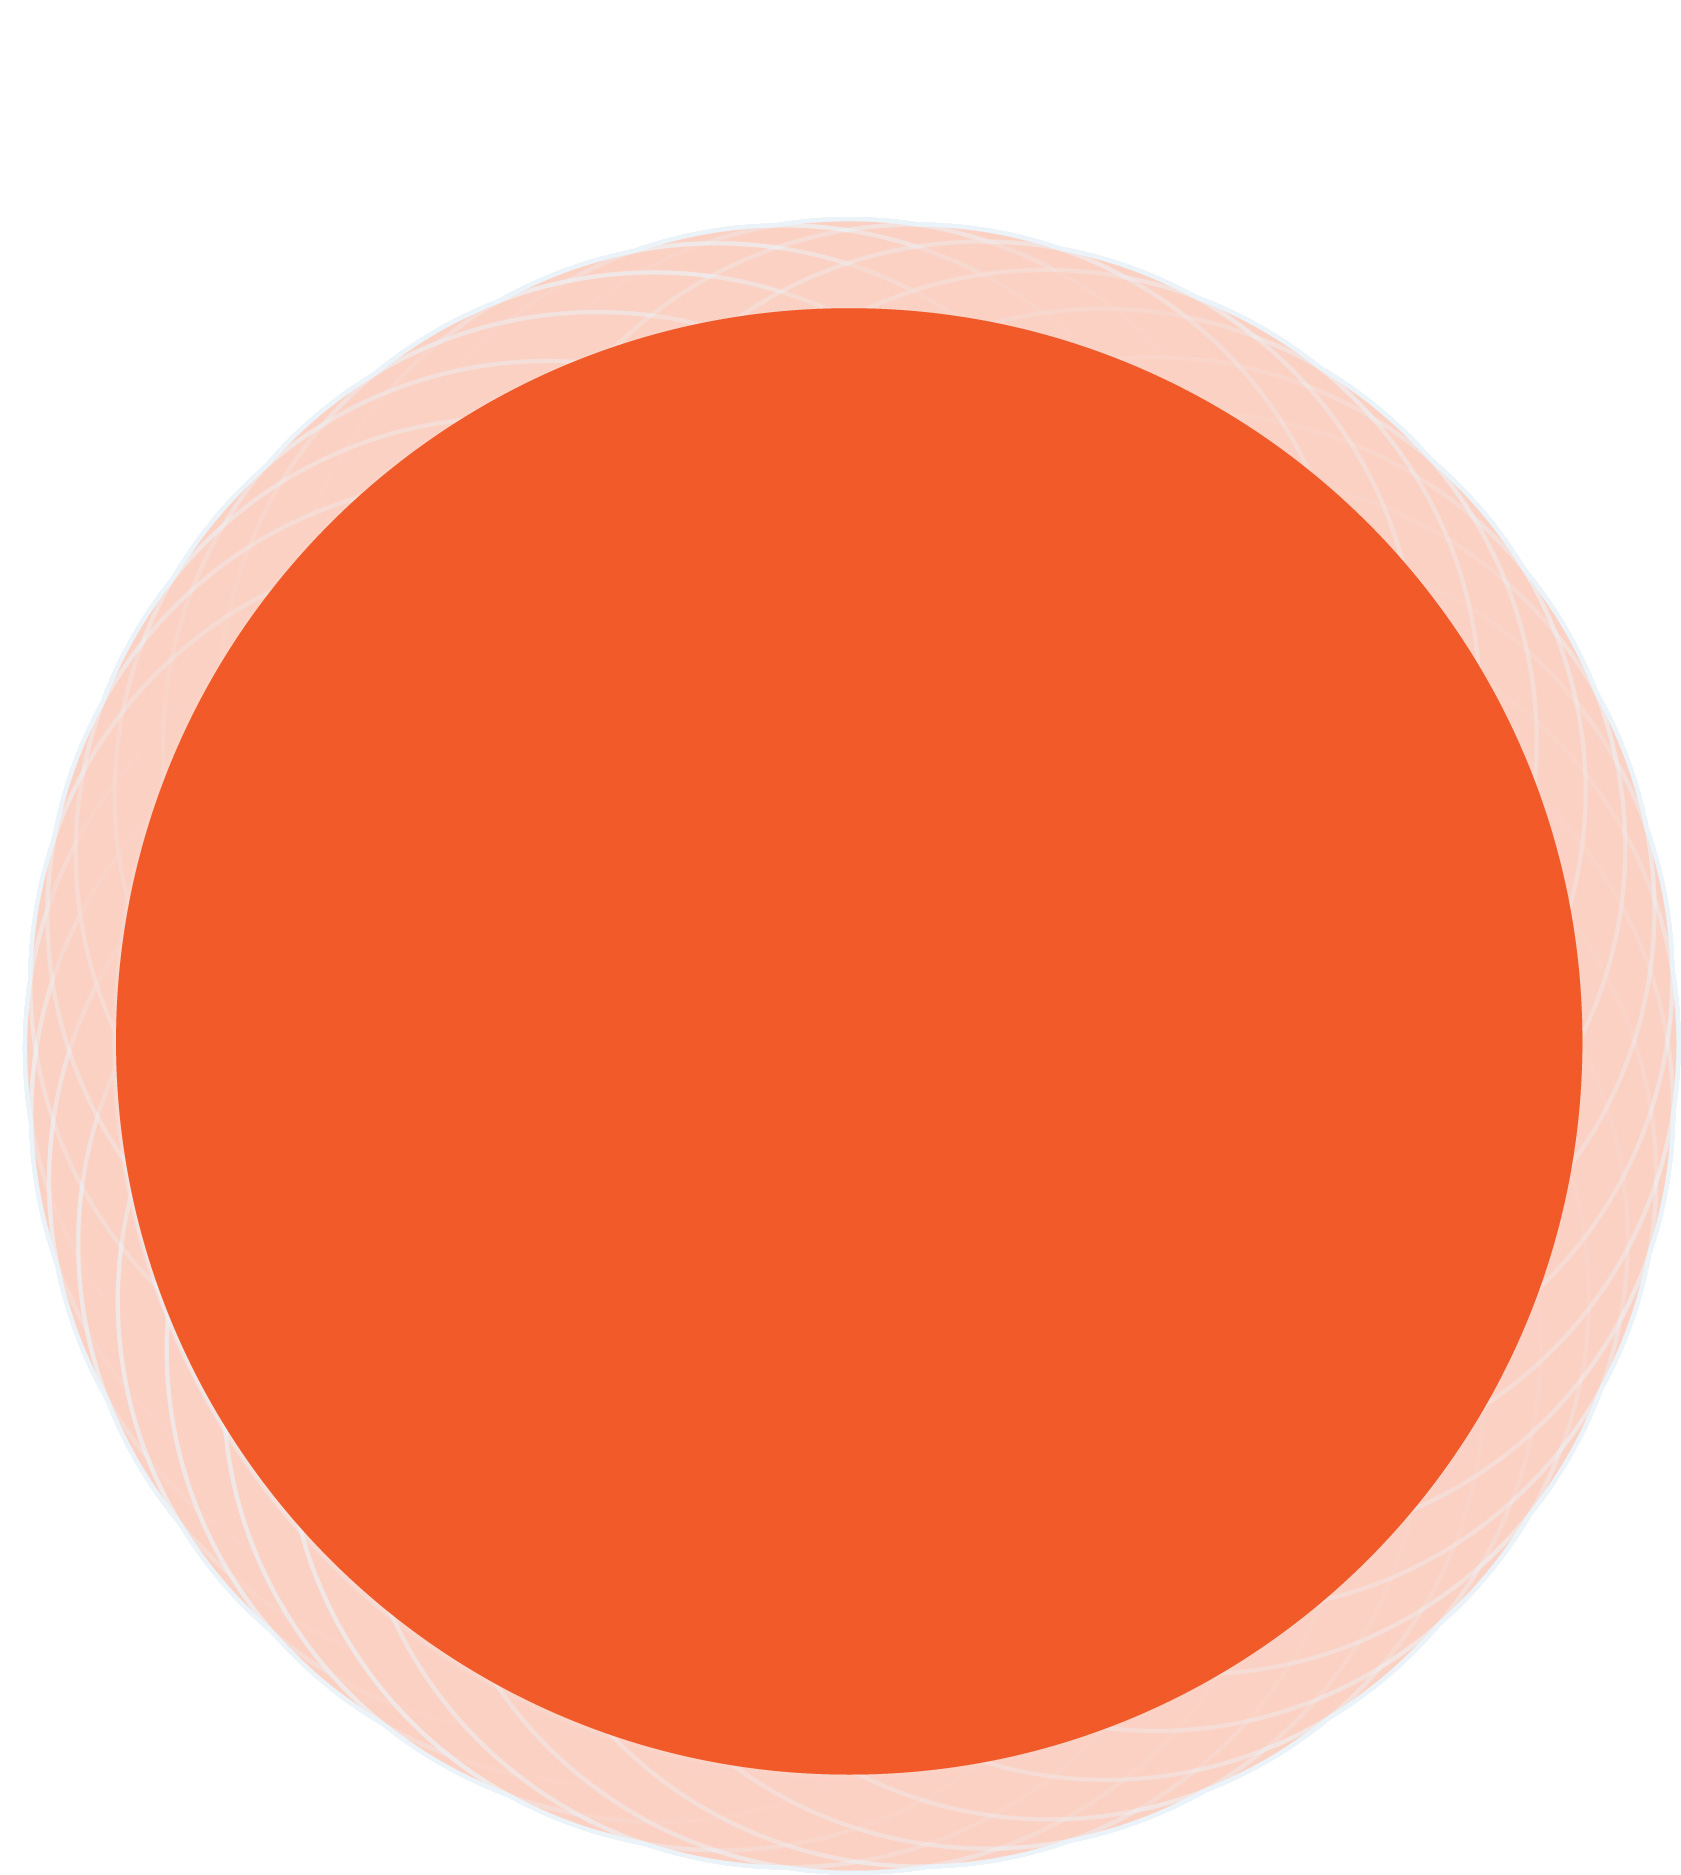
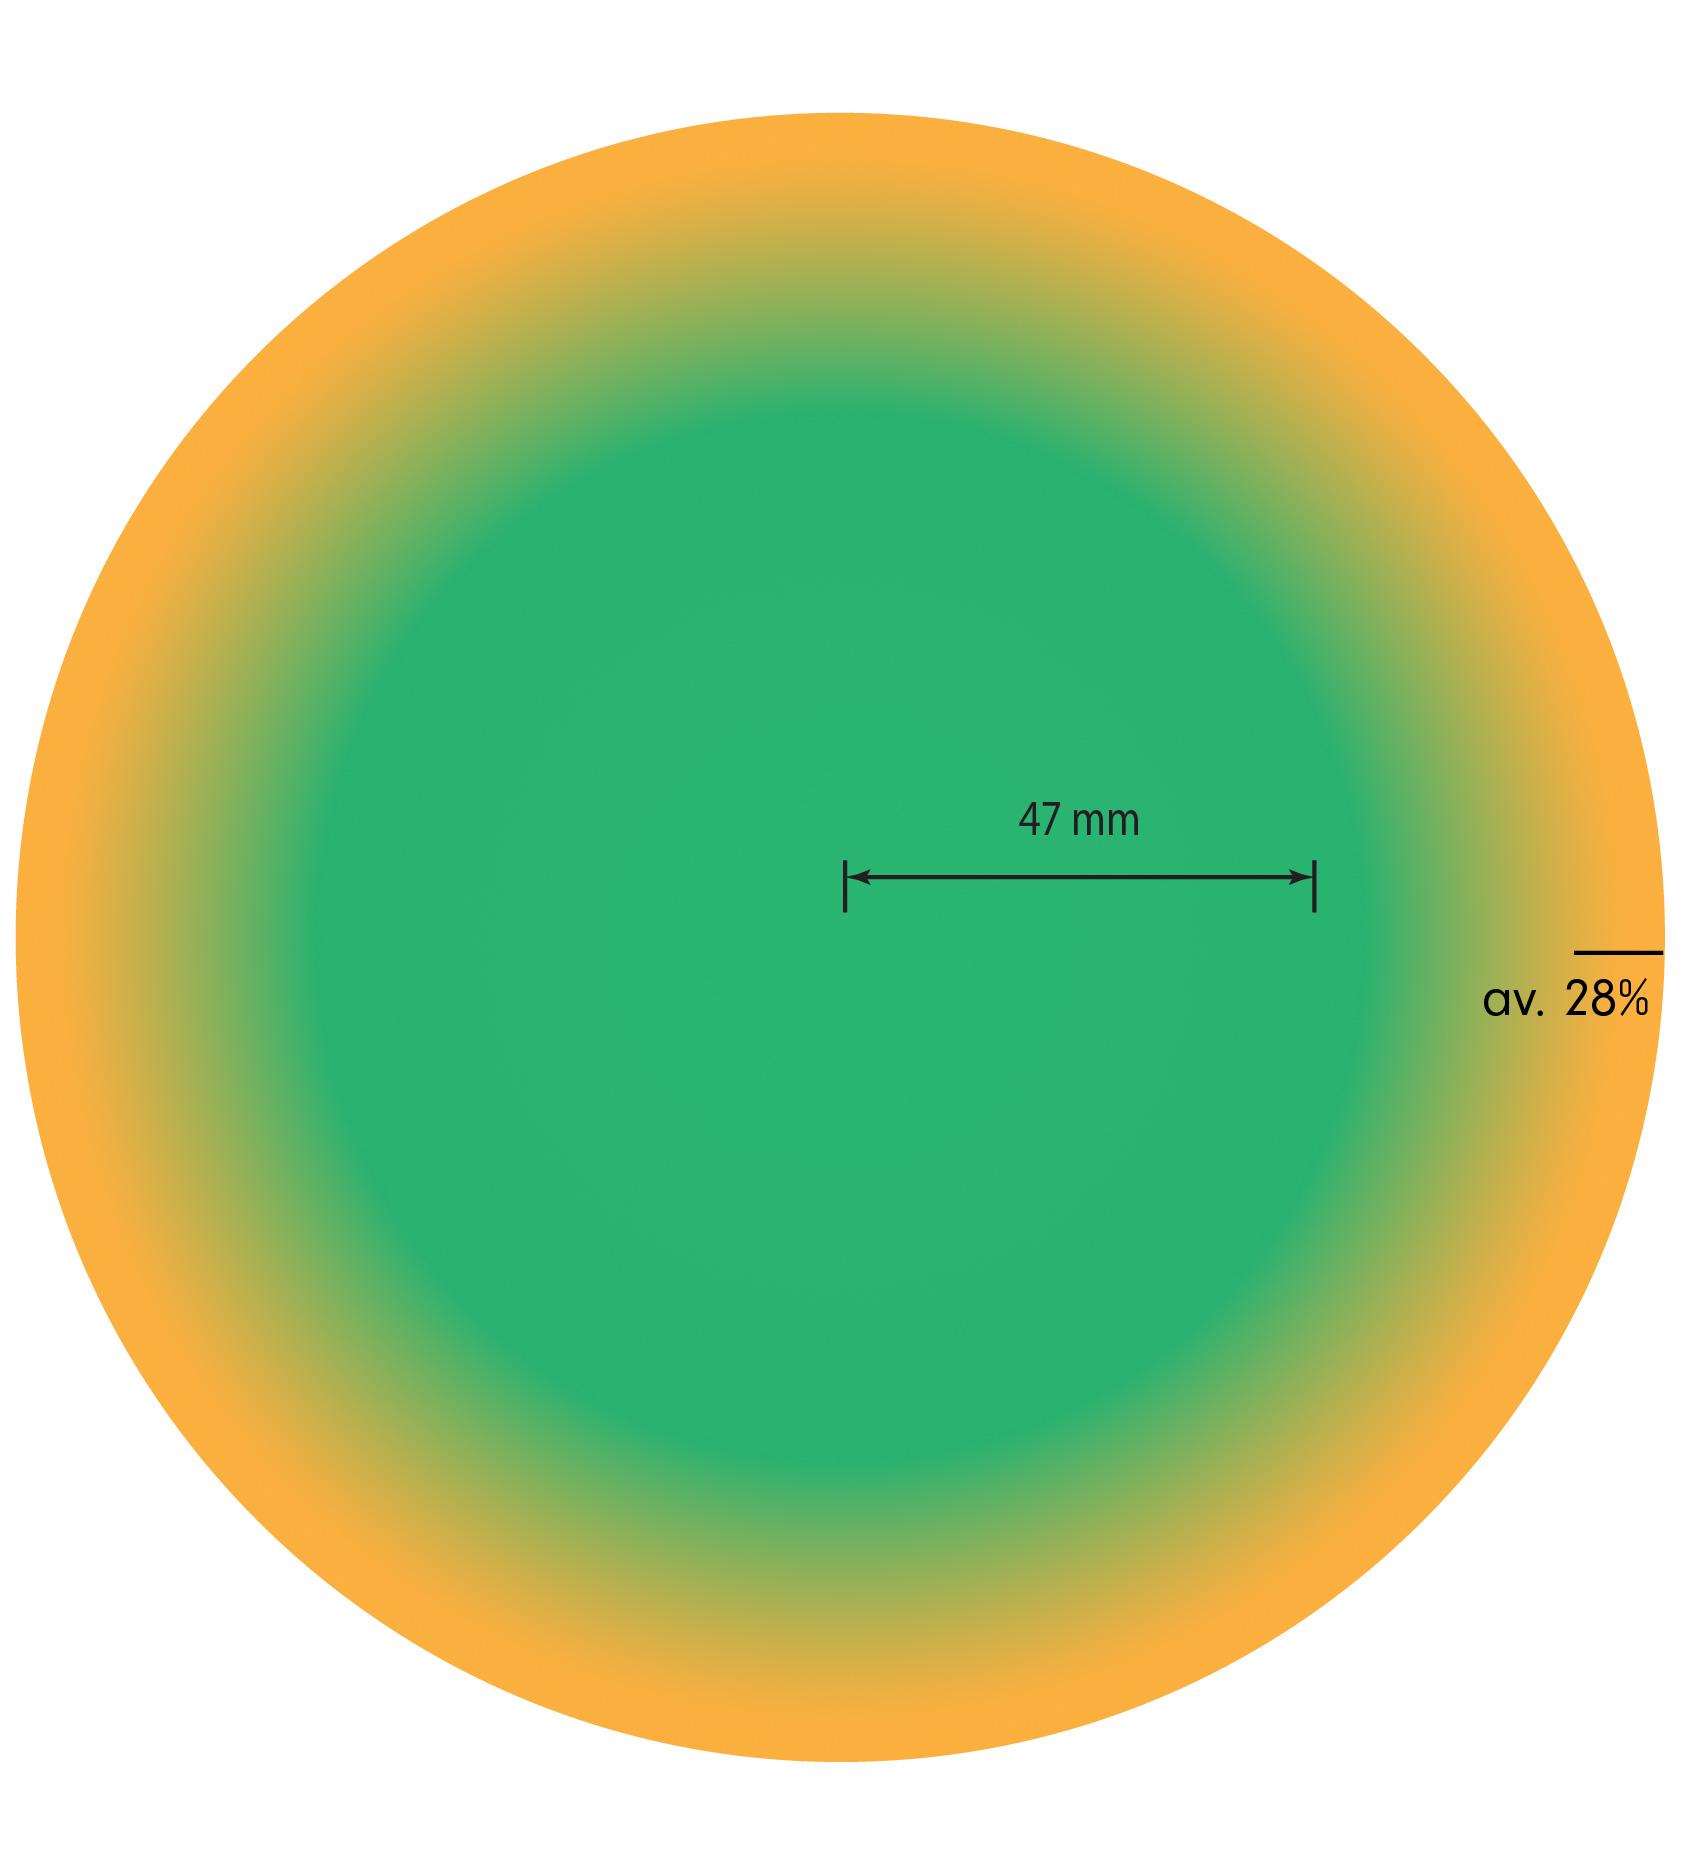
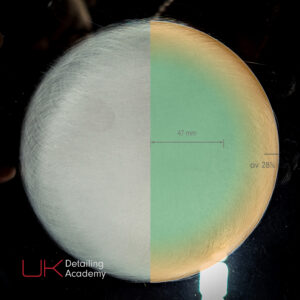
For a 125mm pad with a 15mm offset, the outer 15mm ring of the pad’s reach gets only 28%, on average, of the contact it does in the middle — so 72% less – and nearly NOTHING close to the edge.
It actually starts to drop from even further in than that – on a 125mm pad, around 47mm from the orbit centre is where the consistency starts to dip – but it still maintains noticeable effectiveness at this point.
Need proof? Sanding does exactly the same “job” as polishing, just on a larger abrasive scale with more obvious visibility.
The photo below is the result of a DA sander run on the surface for a few moments to map the pattern. We’ve then laid the image from above over the top – look familiar? Looking at the close-up image, you can see the opacity tailing off far beyond the outer throw.

Does it matter?
What this means to a detailer, ultimately, is that; if you overlap your dual action machine passes by an insufficient amount, i.e. – less than 50%, then even if you consider the polishing action doubled when overlapping, it is still providing less than 2/3rds of the effect the pad has had compared to closer to the pad centre on each side – potentially leaving stripes of less corrected marring behind, and requiring work to further rectify an uneven finish. If you don’t really overlap at all, it will be even more noticeable.
Overlap more – Increase efficiency – Get better results.
That’s why we teach it.
Still don’t believe us?!
This entire concept was solved initially with a maths problem.
We like to prove everything we say, and if the photos above don’t convince you, this is where some geeky geometry can give us the answer.
There are some caveats, which we go into at the end, but the calculations below prove the geometric overlap fraction, and the benefits in overlap.
The Maths Behind the 50% Rule
How it works:
What we’re trying to figure out
Pick any spot on your surface that your DA pad touches in its entire orbit.
As the polisher runs, the pad rotates centrally, and also swings in a 15mm circle offset (or whatever the orbit).
There is a point where the further towards the edge you get, the less frequently the pad covers your spot. Sometimes it’s swung away, and your spot is completely bare. We want to know: what fraction of each orbit is your spot actually under the pad?
For some of the pad, it’s 100%, but there’s a point at which that drops to 99.99%, and falls, increasingly rapidly, toward zero.
The setup
Imagine looking straight down at the polisher as it’s running. There are three distances that matter, and we’ve given them letters, for ease later on:
- e = 15mm — how far the pad’s centre sits from the orbit’s centre (the offset)
- R = 62.5mm — the pad’s radius
- d — how far your chosen spot on the paint is from the orbit’s centre. Literally anywhere, but we’ve drawn a line of blue dots below
As the polisher runs, the pad’s centre traces a 15mm circle. Your spot is covered whenever the pad’s centre is close enough to your spot that you fall within the pad’s radius.
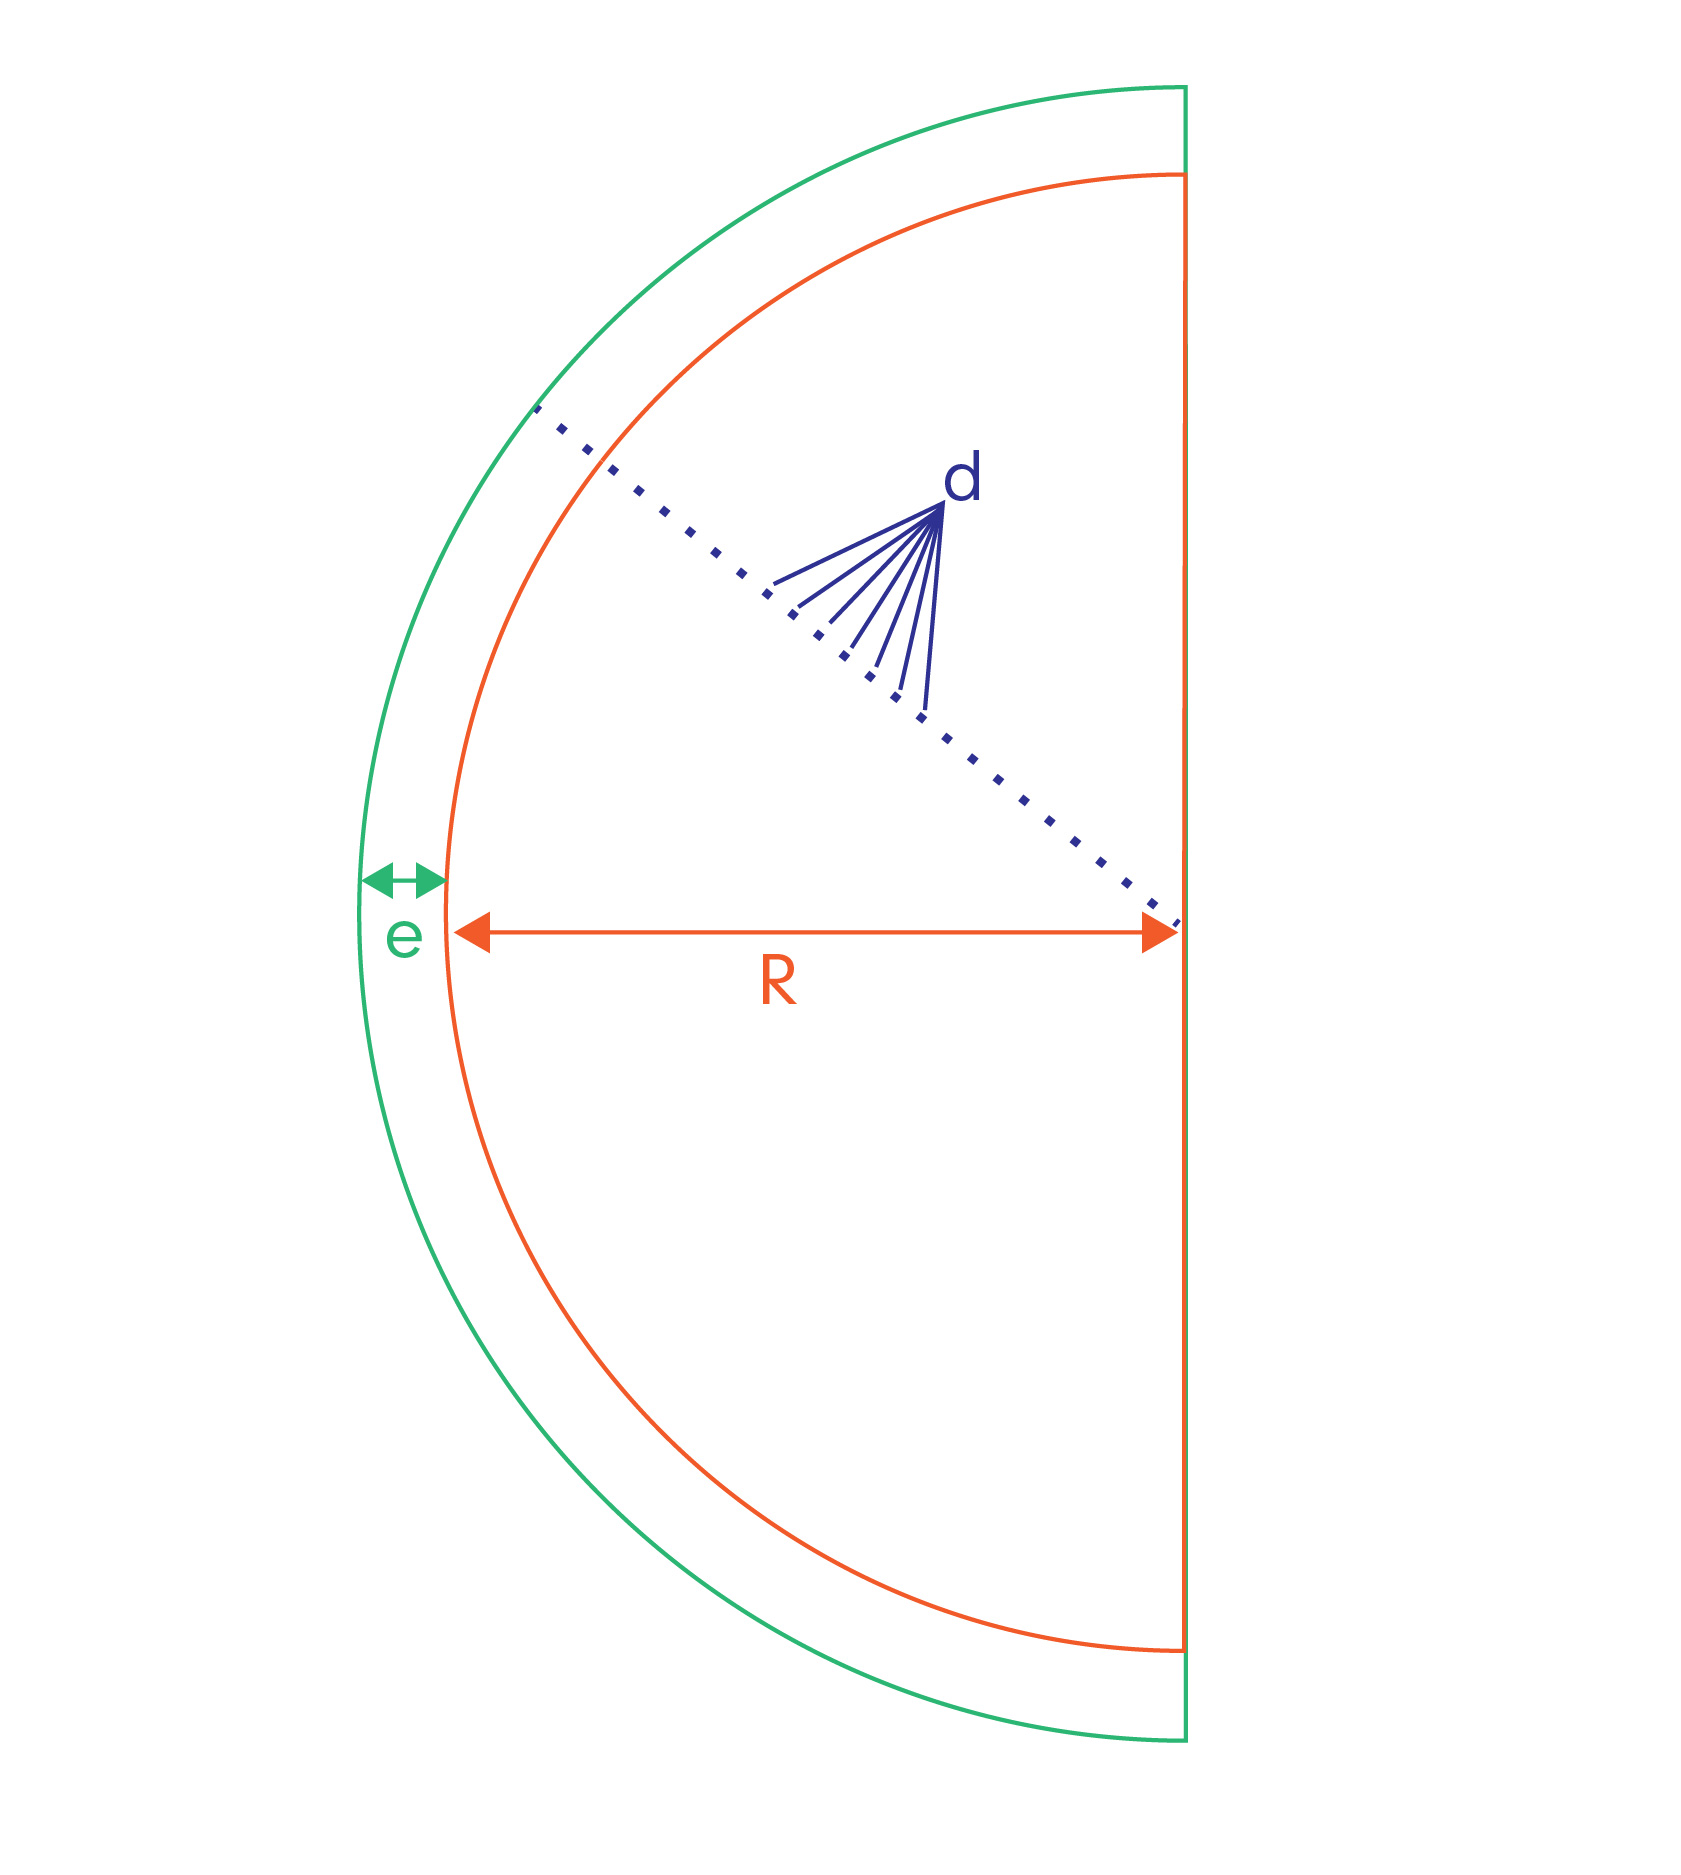
The triangle trick
Here’s the clever bit. At any instant, you can draw a triangle between three points: the orbit’s centre, the pad’s centre, and any spot on the paint. The three sides of that triangle have lengths e, R, and d.
There’s a trigonometry rule called the law of cosines, which relates the three sides of a triangle to one of its angles. – You probably remember Pythagoras from school: for a right-angled triangle is a² + b² = c², which can be used in varying formats to find the length of the sides.
Rearranged for this sum, it says:
(e² + d² − R²) / (2ed) = the cosine angle
That angle is then measured at the orbit’s centre, and it’s how far the pad has swung around its orbit, measured from your spot.
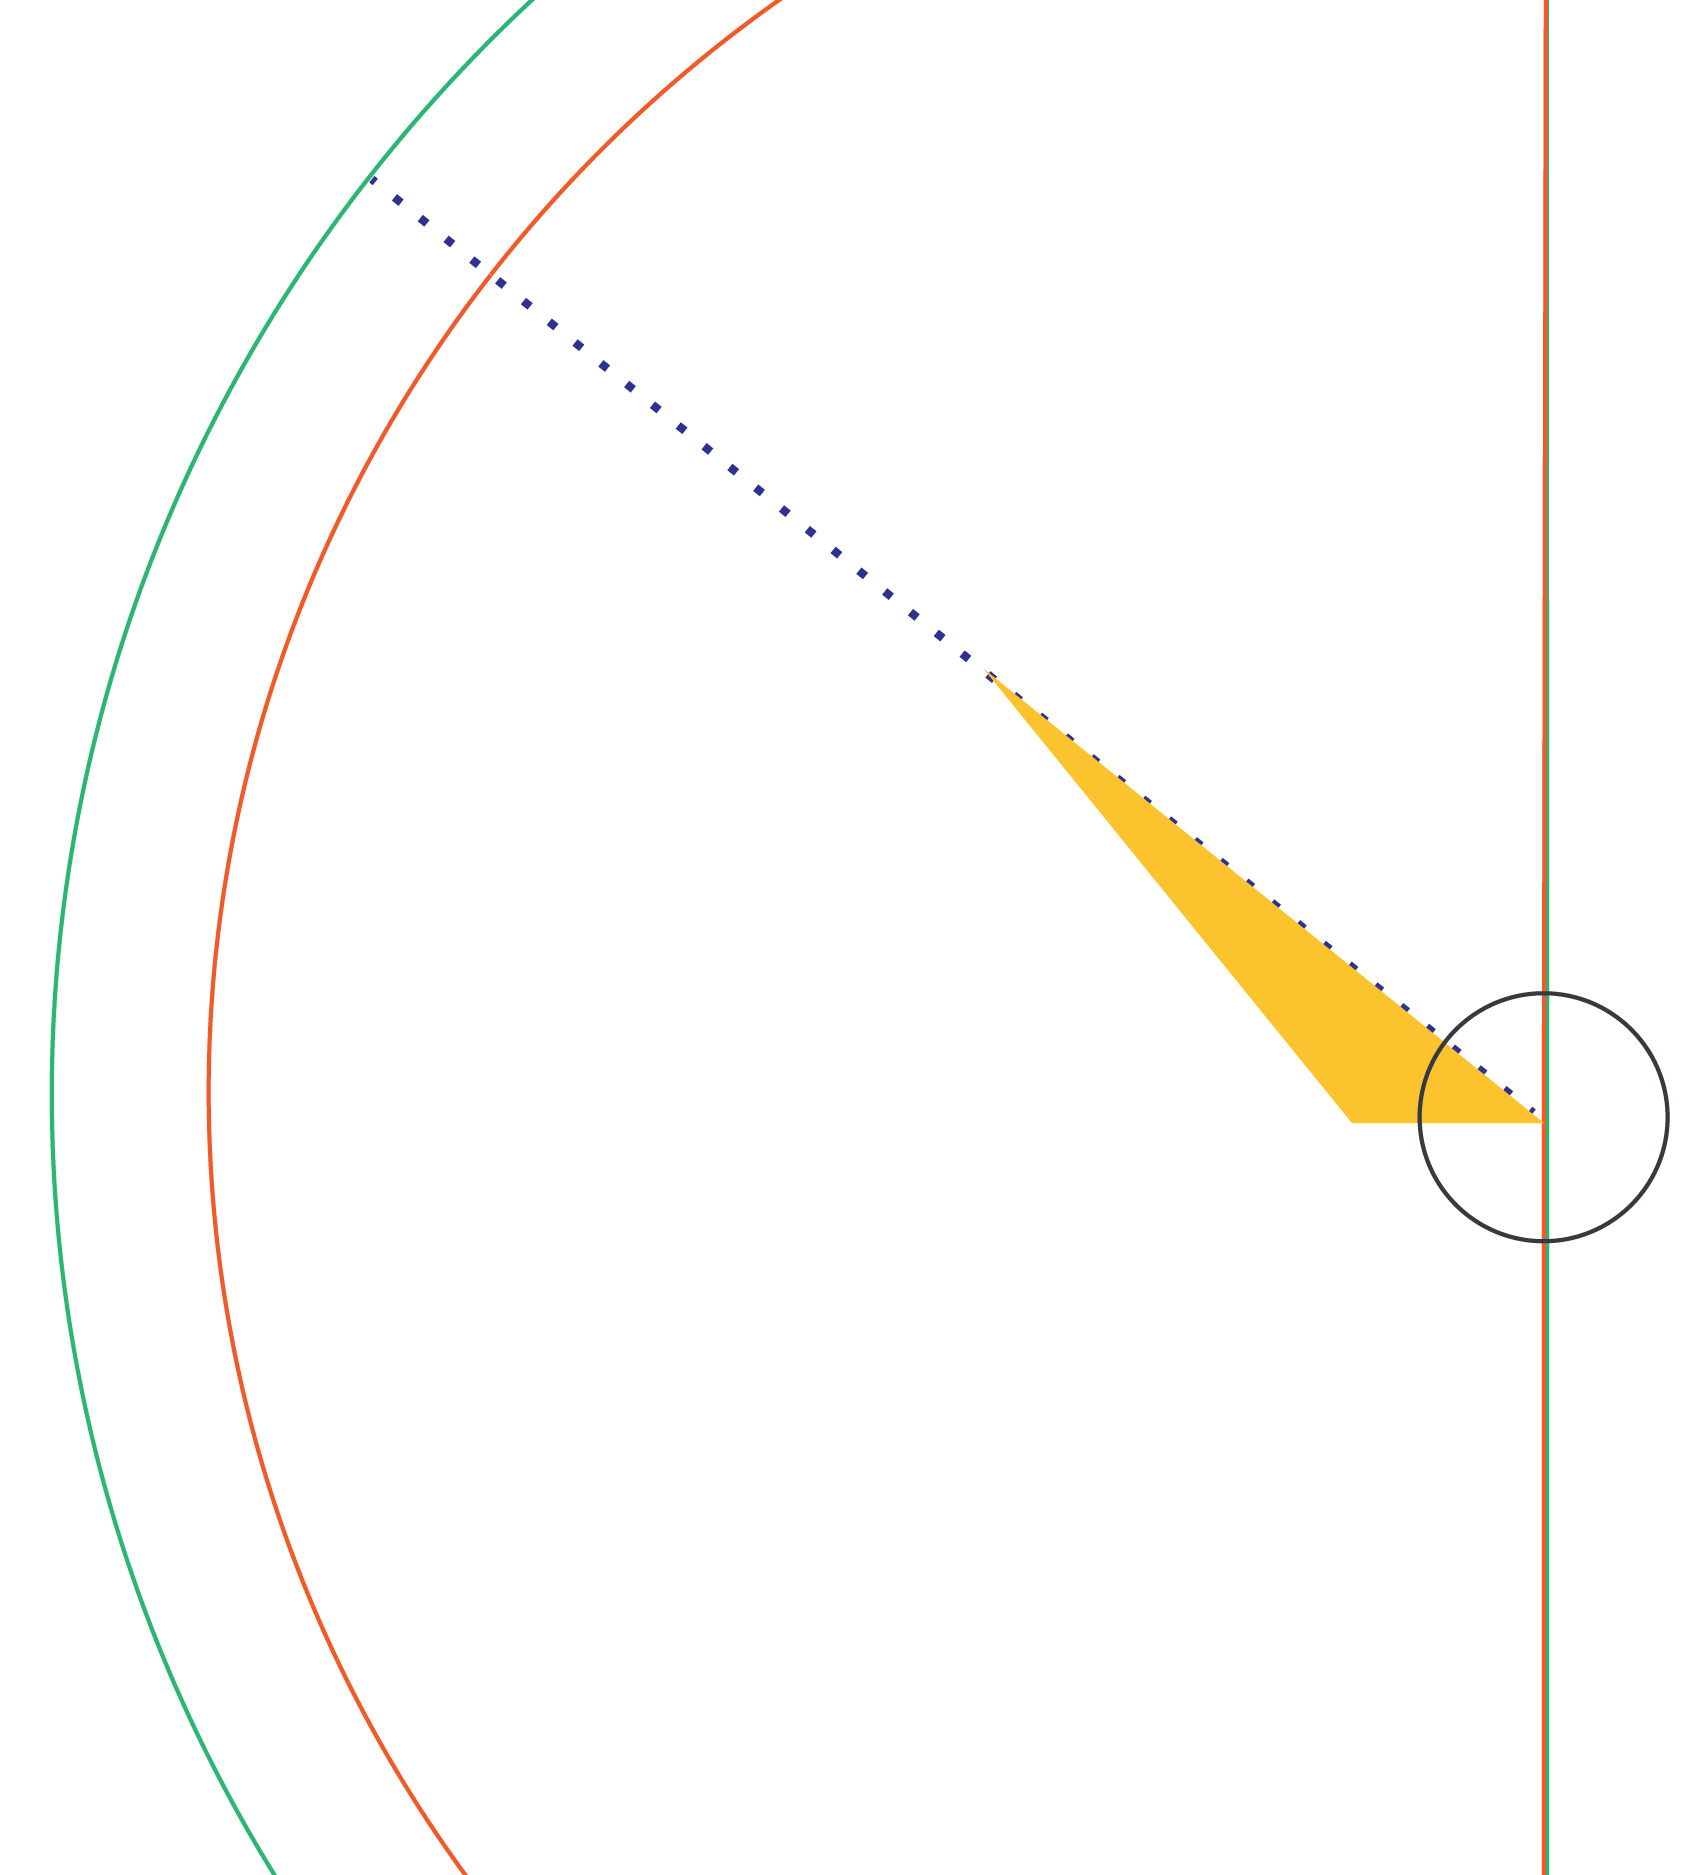
Next: Finding the boundary
We want the exact moment the pad just touches your spot — that’s when the distance from pad centre to your spot (d) equals R. The angle at that moment tells us the “boundary” of coverage.
Swing the pad less than that angle away from your spot and you’re still covered; swing further, and you’re not.
This gives us the “arccos” – which just means “what angle gives this cosine?”
So, altogether – arccos((e² + d² − R²) / (2ed)) gives us that boundary angle in radians, and is then divided by π, as full orbit is 2π radians.
Therefore:
Fraction of orbit covered = boundary angle / π
And that’s the formula. It’s really just “draw a triangle, use the law of cosines to find the angle where the pad’s edge crosses your spot, then express that angle as a fraction of a full circle.” Then we just have to multiply it to calculate it across the entire footprint
The calculation.
Call the pad radius R = 62.5mm and the offset e = 15mm. For a point on the panel at distance d from the orbit’s centre, the fraction of each orbit it spends covered by the pad is:
f(d) = (1/π) · arccos((e² + d² − R²) / (2ed))
That divides the panel into three zones:
- An inner disk out to d = R − 15 = 47.5mm that’s always covered (100%, your “central area”).
- a transition “annulus” (a ring-shaped geometric figure) from 47.5mm to the outer edge, where coverage drops smoothly.
- and everything beyond 77.5mm (which is the pad radius, plus the throw) that is never touched – the total reach of the machine.
Working this through for a 125mm pad:
Contact stays at 100% out to 47.5mm, then falls to about;
- 46% at d = 62.5mm (where the panel point sits at the pad’s nominal edge radius),
- 30% at 70mm,
- 17% at 75mm,
- and effectively 0% right at 77.5mm — that outermost circle is touched only for an instant per orbit.
Result:
For a 125mm pad (radius R = 62.5mm) with a 15mm offset, the outer 15mm ring of the pad’s reach gets (roughly) 28% on average as much contact as the central area — about 72% less. – and nearly nothing close to the edge.
Isn’t maths great!
Caveats
We do stipulate, however, that this is only one factor that affects the overall polishing ability.
For example, the geometry model does not take into account the free spin from the dual action, because it’s not a constant, reliable output and is dependent on input factors – such as machine power, load, abrasive makeup, and the surface shape itself.
On a glass smooth finish, using a slippery finishing glaze will allow the pad to run easily and increase the free-spinning eccentric action; however, using a soft pad adds more friction as it struggles to overcome the kinetic drag. Fighting against this results in killing some of that free spin…
This is not an all-situations absolute, but solid mathematical reasoning behind the fact that; an edge of a DA pad will not cut as well as the inner 1/3, at least, and the effect will always diminish closer to the edge, when used flat.
To combat this, overlap by 50%, and you won’t have any surprises. Good advice, really.
![]()