Bit of a change from our detailing technical blogs of late, and onto a subject to help promote and showcase your work to new and existing customers, as we have now launched our Detailing Photography course! With dates in the diary for April and June, it’s a fantastic group day spent learning how to up your photography game and get the best out of your equipment – great for anyone who loves their car and has an intrerest in photography, we’ll get you snapping wall-mount-quality shots in no time!
On to the blog though. – Anyone can take a potato-quality photo as they finish a job in a rush to pack the van, but the right picture properly framed can make a huge difference…
Did you know that Tweets with great photos receive an average 35% boost in Retweets?
It’s not just Twitter – Facebook posts with attractive photos receive an average 37% increase in engagement. And Buzzsumo found that posts with images receive 2.3 times more engagement than those without. Instagram goes without saying that image attractiveness can make or break a post, but most customers shopping for high-end detailing services will even pay particular attention to a portfolio of completed images on your website prior to making a decision, so getting perfect shots can pay huge dividends and a little extra effort can reap huge benefits!
You don’t NEED expensive gear for these to work either, as it’s all about the setup, and can be applied to mobile phones as well as DSLR or Mirrorless cameras. So let’s get snappy with course instructor Bert Youell’s Five top tips to Photo Perfection…
Photography is half art and half science – you can know everything about how a camera works and what all the buttons do, but without good composition, your shots will never capture the imagination. Thankfully there are some basic rules you can learn and practice to improve your shots without needing a degree in photography or a top-of-the-range DSLR camera –
Pick your time of day!
Photographers refer to something called the “Golden Hour”, shortly after sunrise and shortly before sunset. At this time the sun is at its lowest point, so provides light across the land rather than from above, allowing you to play with shadows and contrasting areas of light and dark. Equally, the light produced can seem richer – clean blues in the morning, deep yellows and oranges in the evening – and while these ‘temperatures’ can be simulated in post-production, there’s something special about shooting them in real light – natural sepia.
Conversely, if you are looking for more clinical shoots without any misty-eyed romance, in the middle of the day, with the sun overhead and firing bright white light directly down on your car can be equally as effective – it’s cheaper than hiring a studio with dozens of diffused light panels. You can also create really sharp contrasts – parking a car half under a bridge at noon is one to try.

Frame your pictures
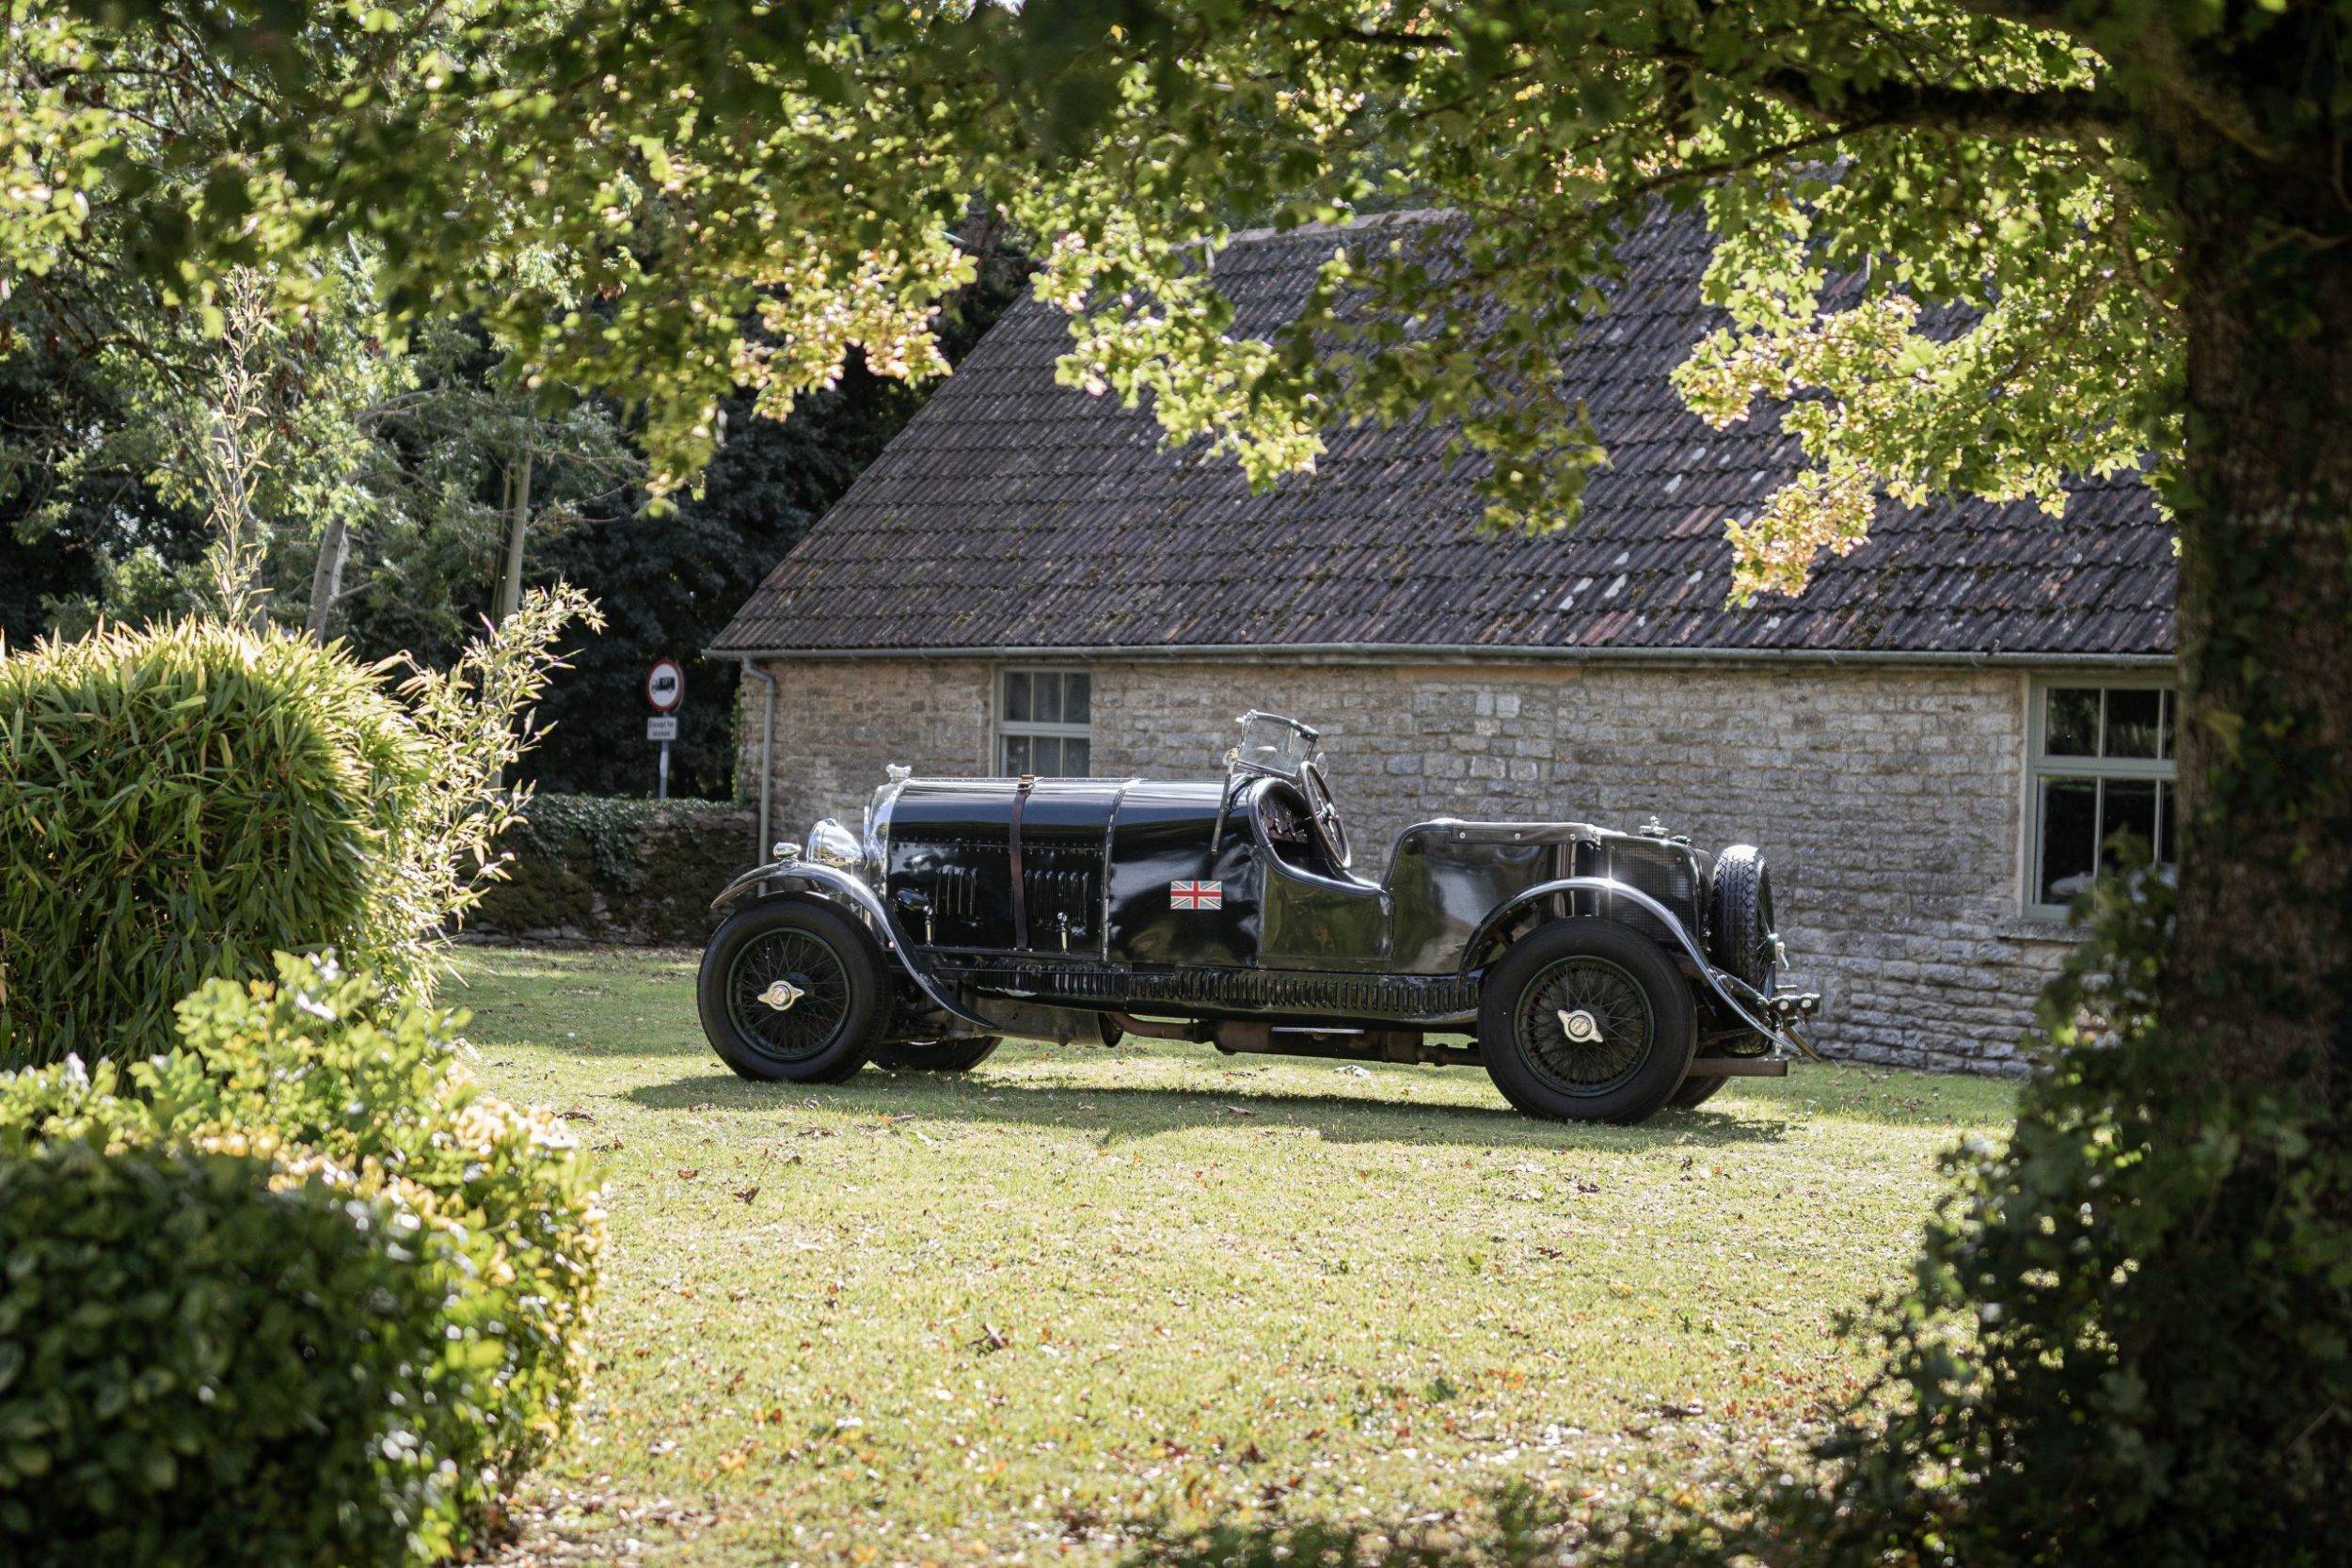
You can use both foreground and background features to enrich your image and help create a theme. In this example we have a classic Bentley with greenery in the foreground and old Cotswold stone in the background – it’s twee Ol’ England and creates the ambience we wanted for the veteran car.
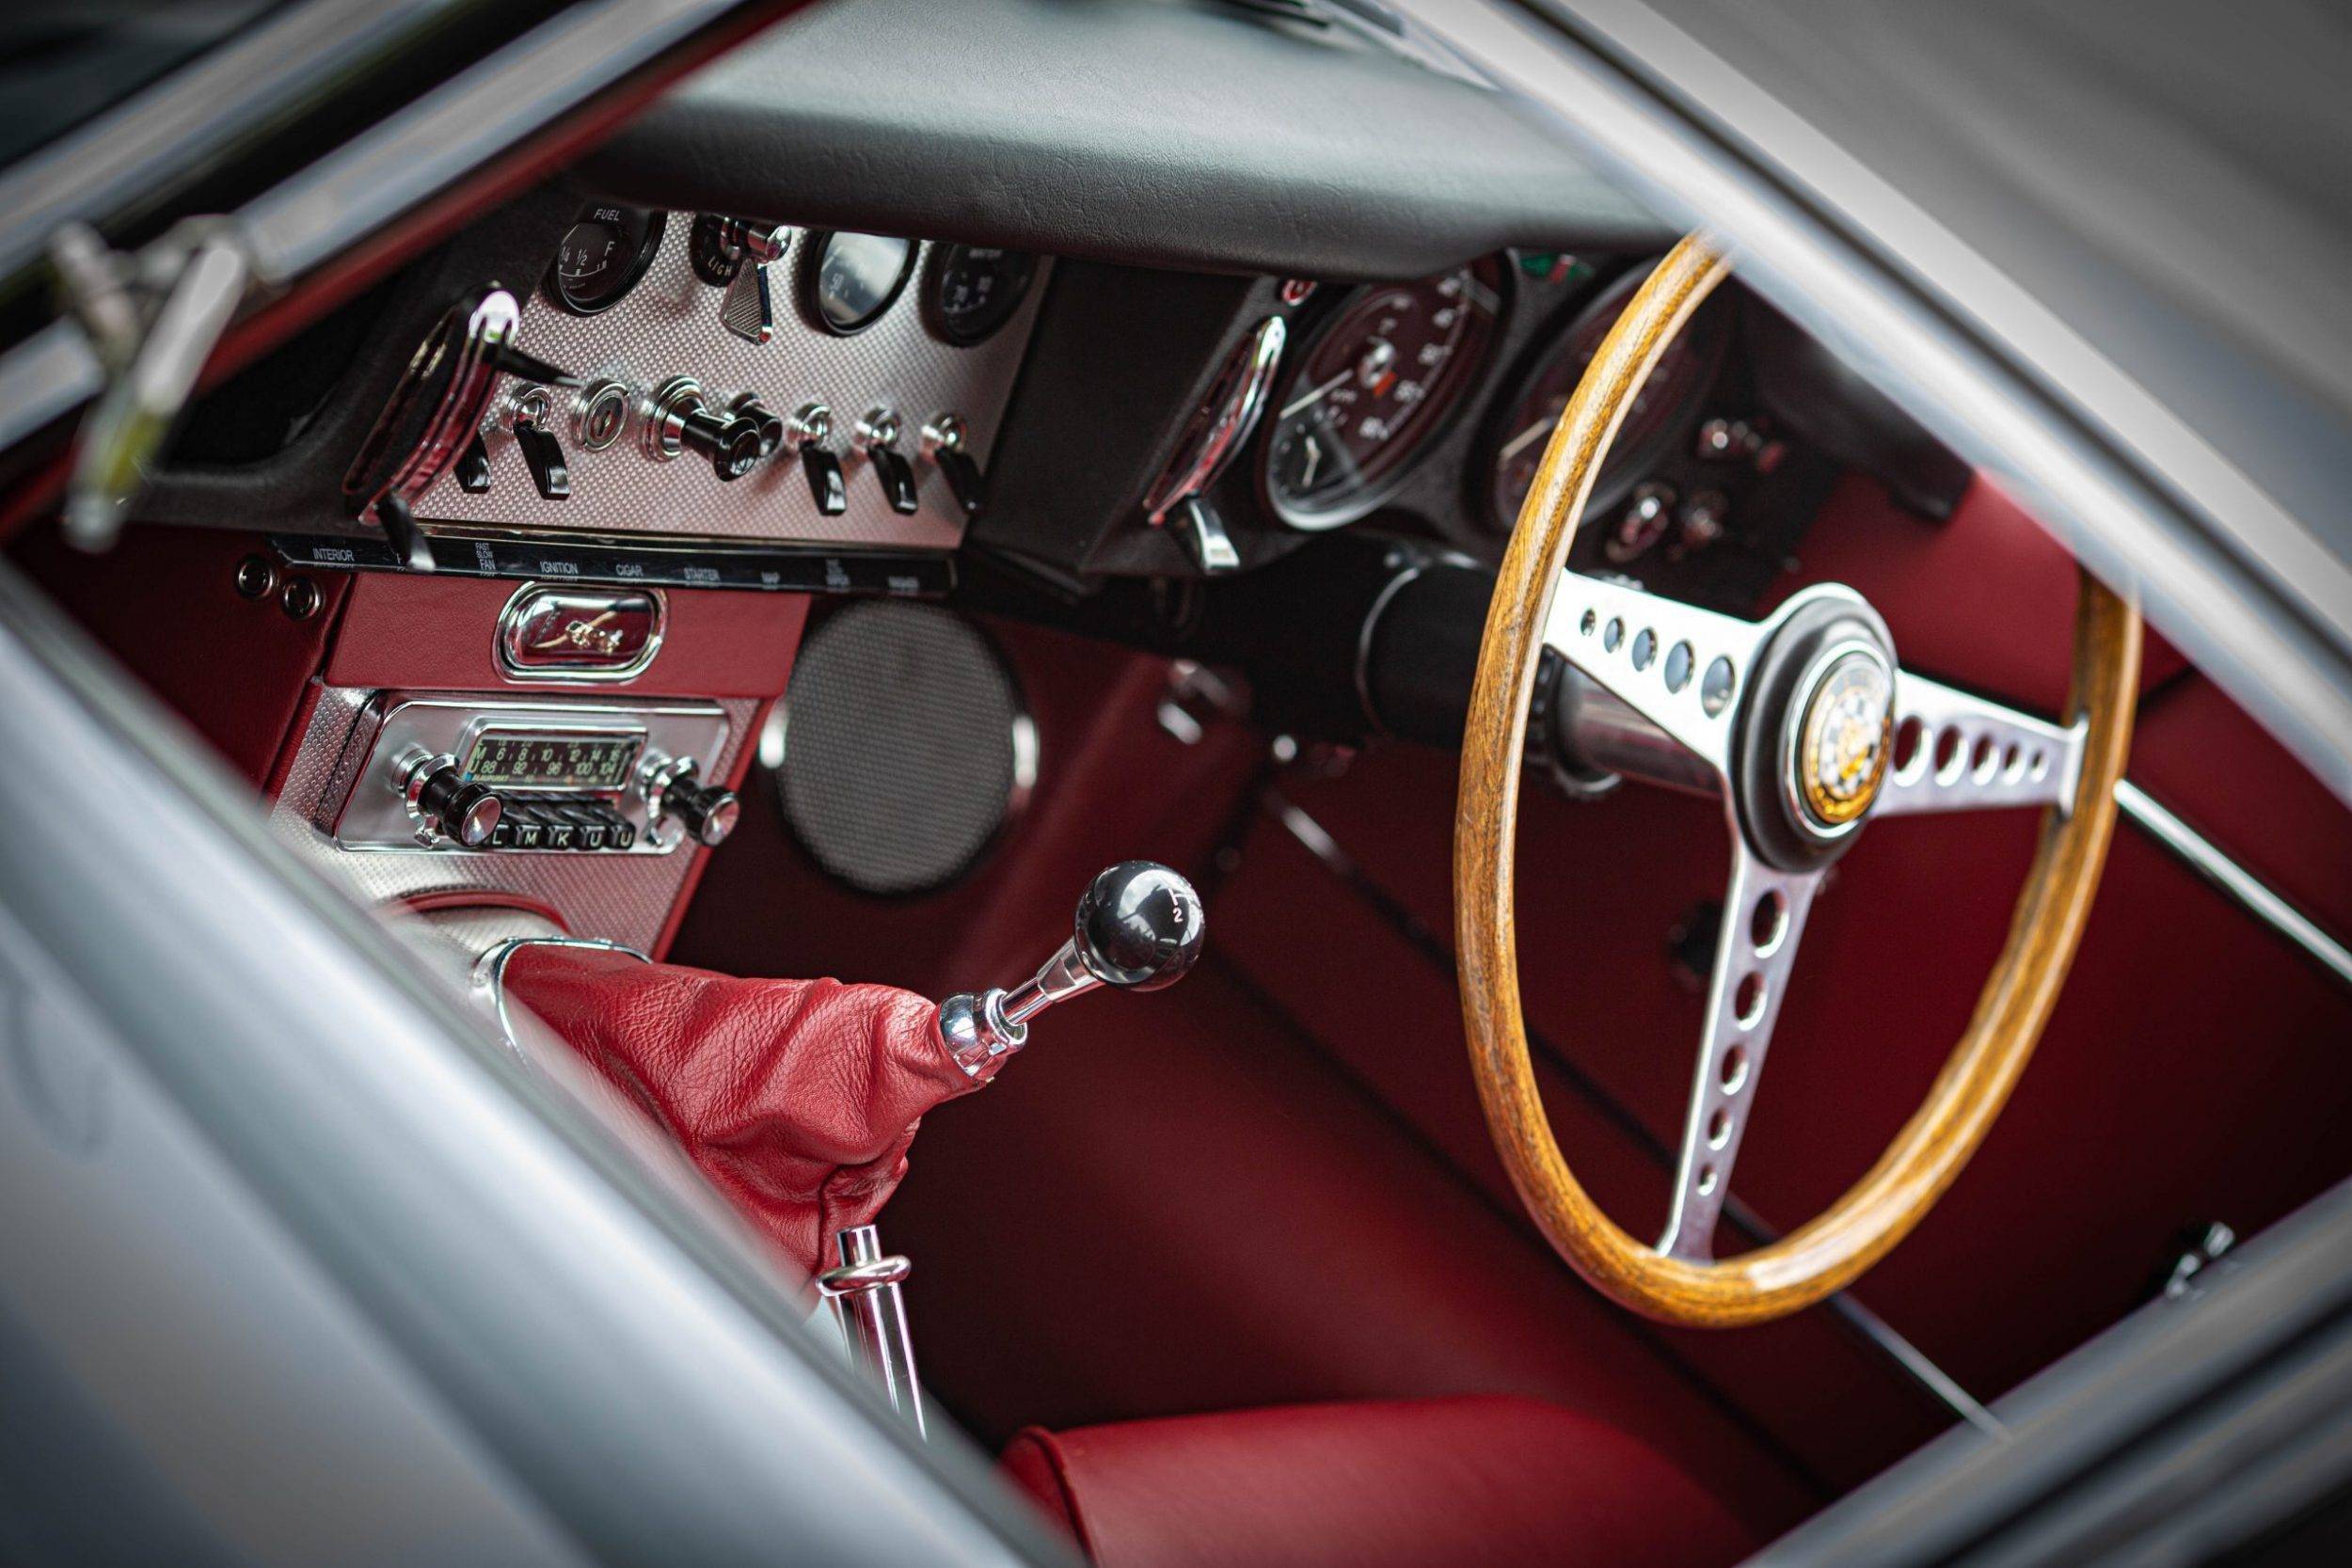
Alternatively in this second shot of a Jaguar E-Type we wanted to simulate peeking through a window as one might at a car show, so we included some door frame in the shot.
Shooting Position
When it comes to positioning a photo, there are two things you can move around – the object you are shooting, the position from which you are shooting it. A great photo needs the object the be in the right place, but simply by changing the position of the camera, you can change the whole character of an image.
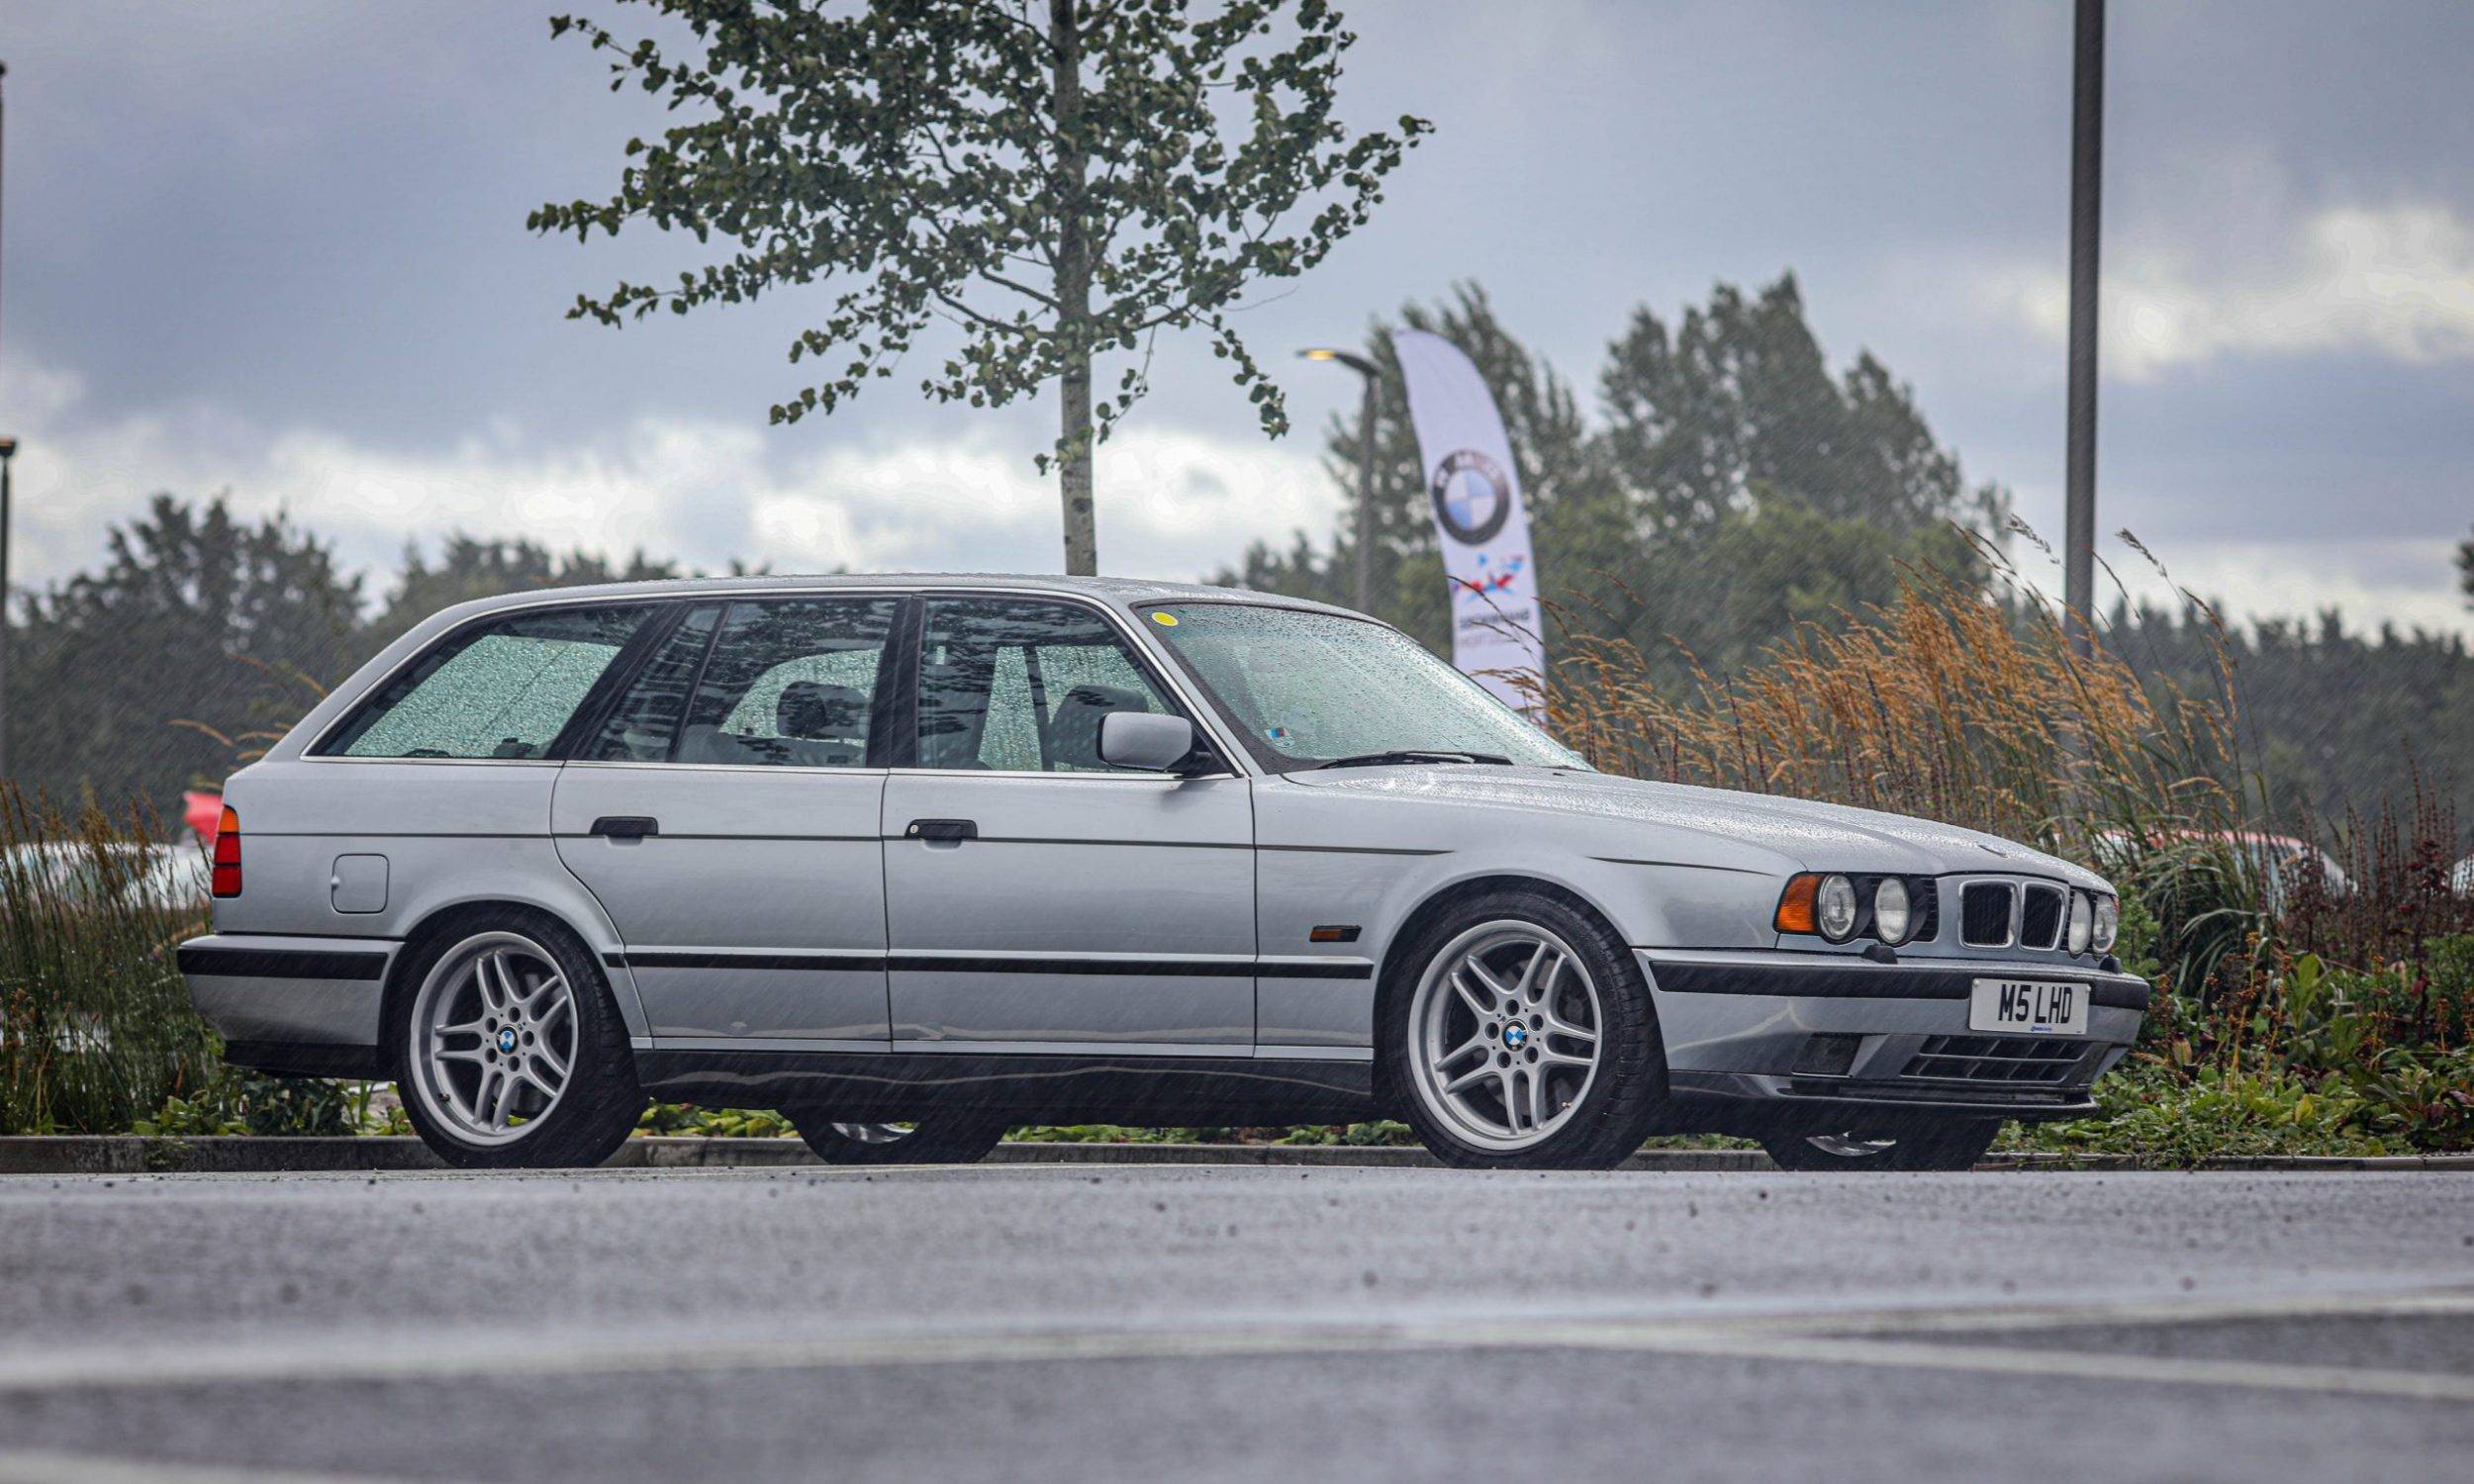
With cars we are used to seeing photos taken at head height, exactly how we would normally see them. However, if you get down on your belly and try shooting from below, or shoot out of a first floor window, you can create a different perspective which is immediately appealing and novel. In this picture, taken during a rainstorm, we had the camera on the tarmac, immediately adding a bit of drama.
In contrast, this second shot:

… involved climbing a railway embankment (obviously not trespassing on Network Rail territory), allowing us to capture multiple vehicles along with some of the rolling Yorkshire Dales in the background.

Rule of Thirds
There are various composition ‘rules’ you hear bandied about – by far the most cited is the ‘Rule of Thirds’ and that’s because it is one of the simplest yet most reliable ‘rules’ you can apply – though it is more a guide line…
Imagine two equally spaced horizontal lines across the width of an image, and two more equally spaced vertical lines across the height of an image – there are four points of intersection, circled below in pink – the ‘thirds’.
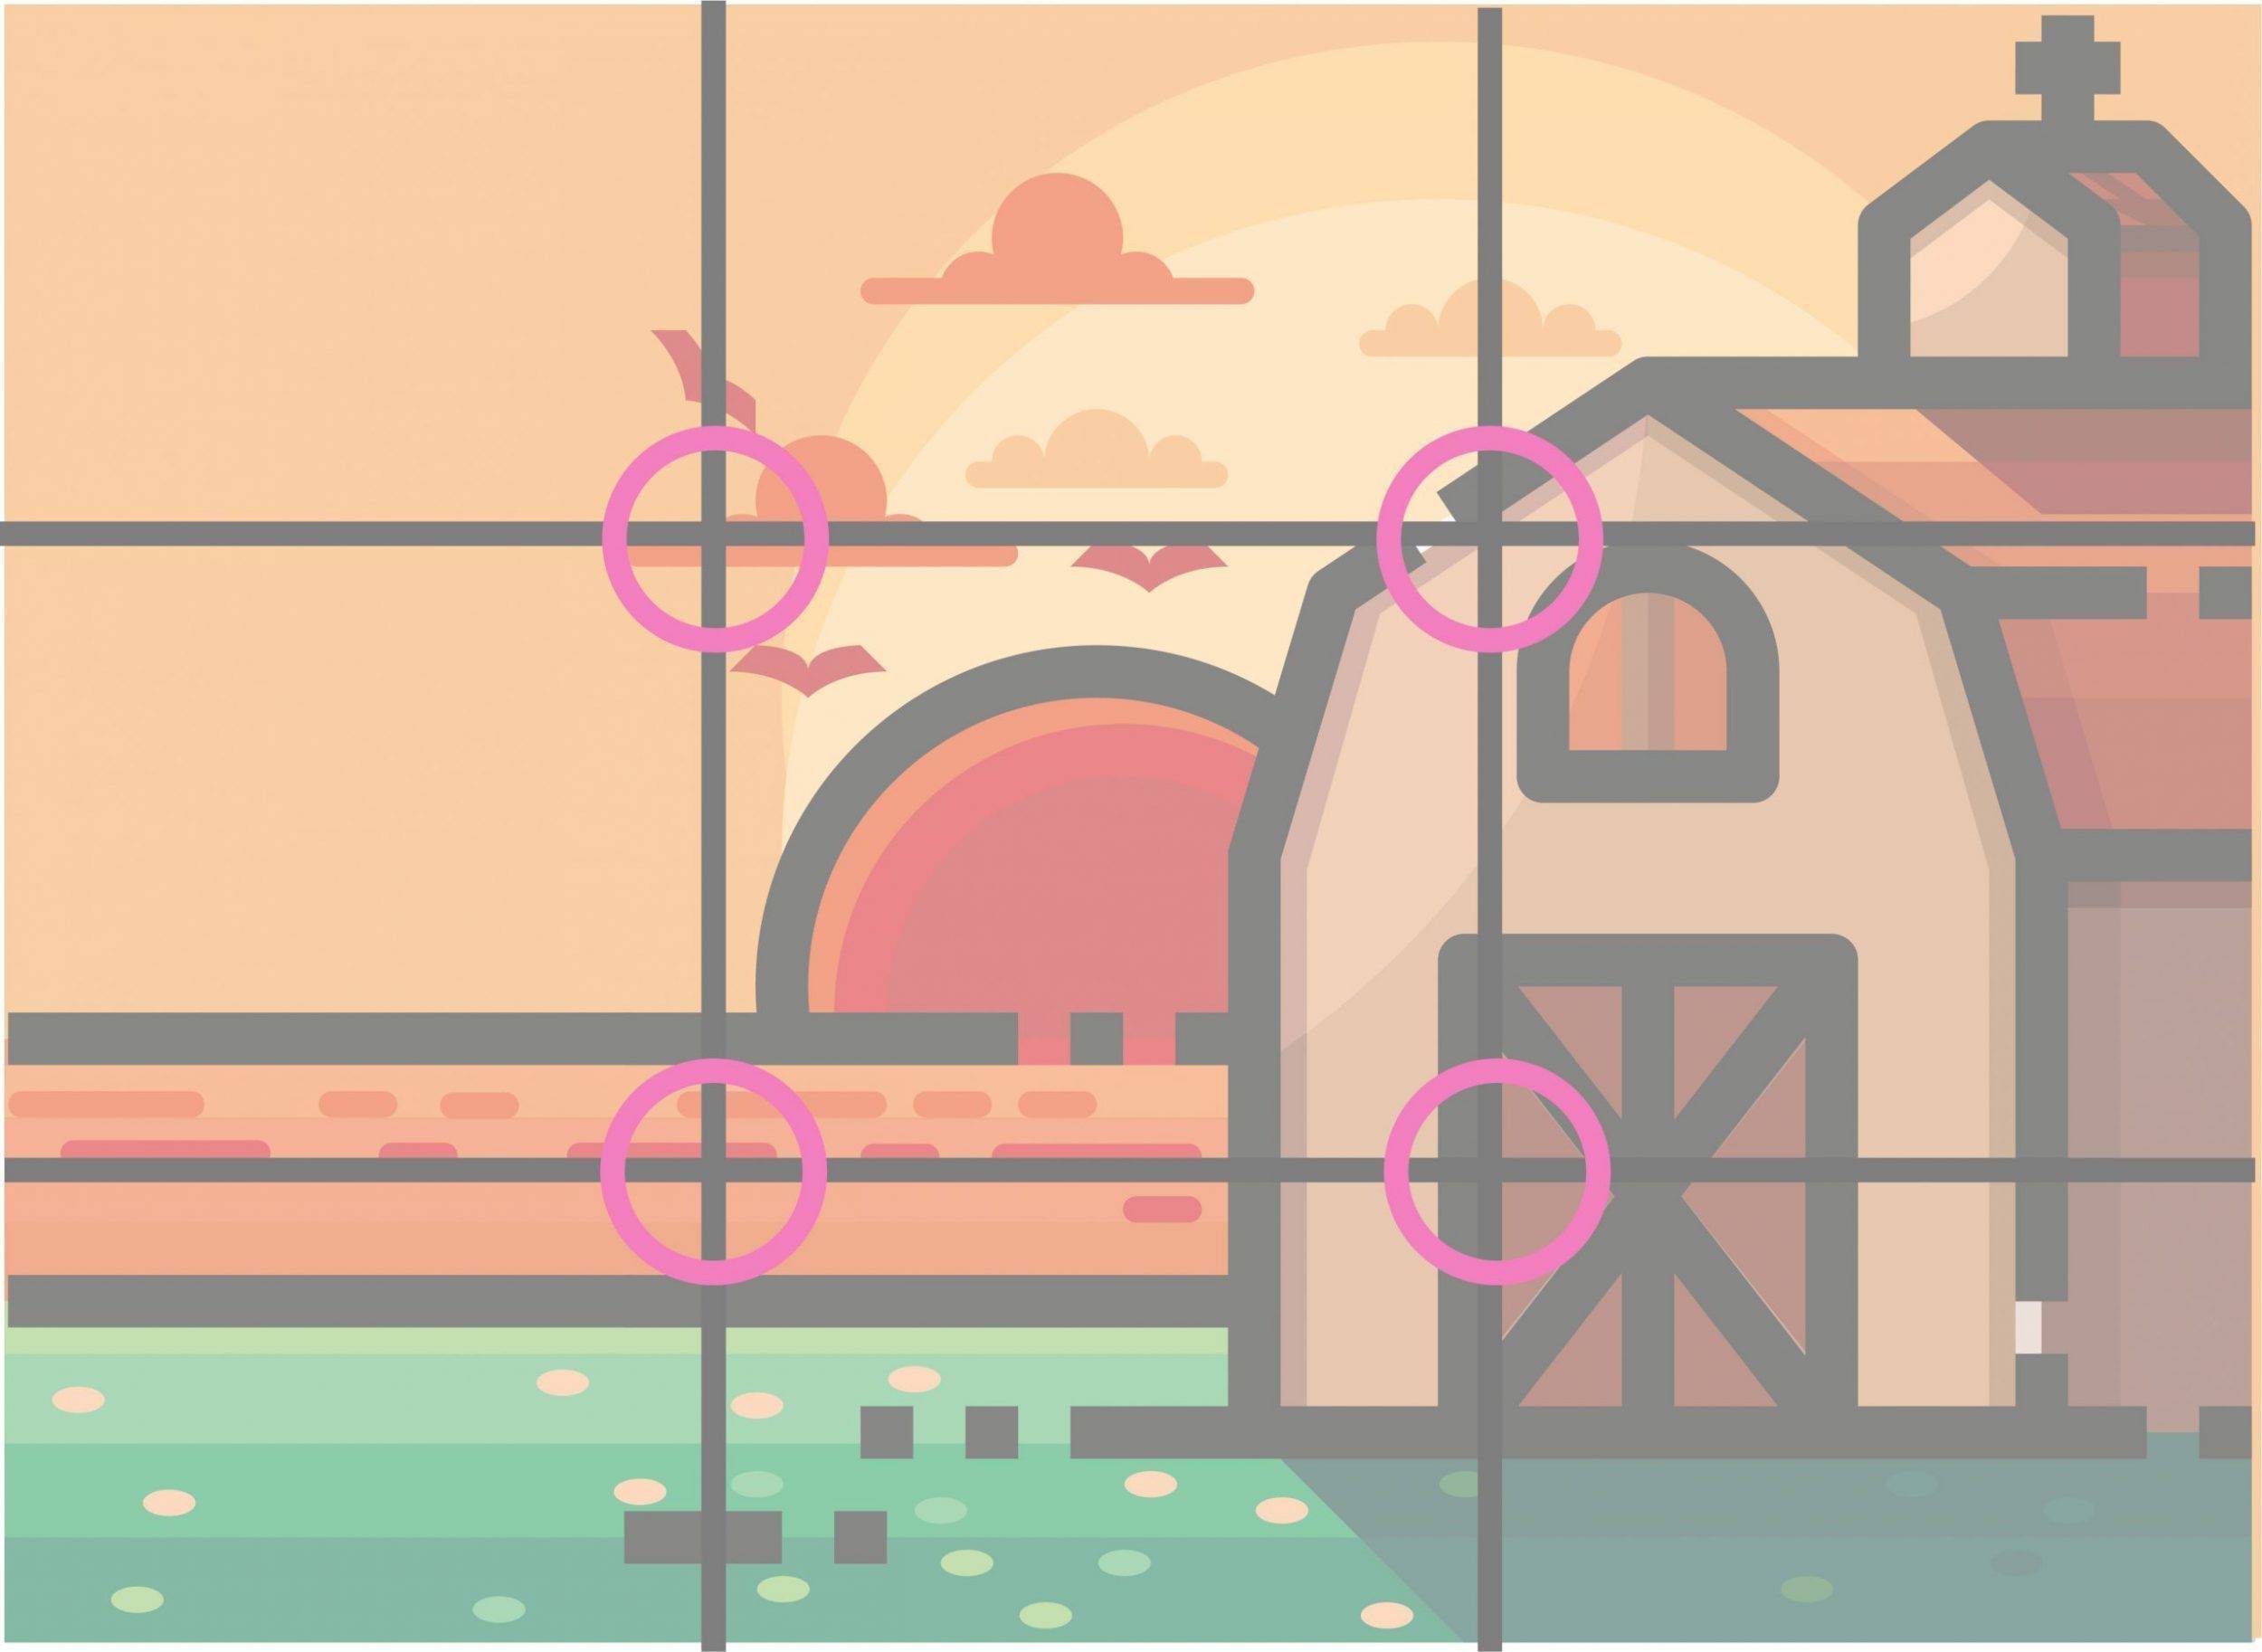
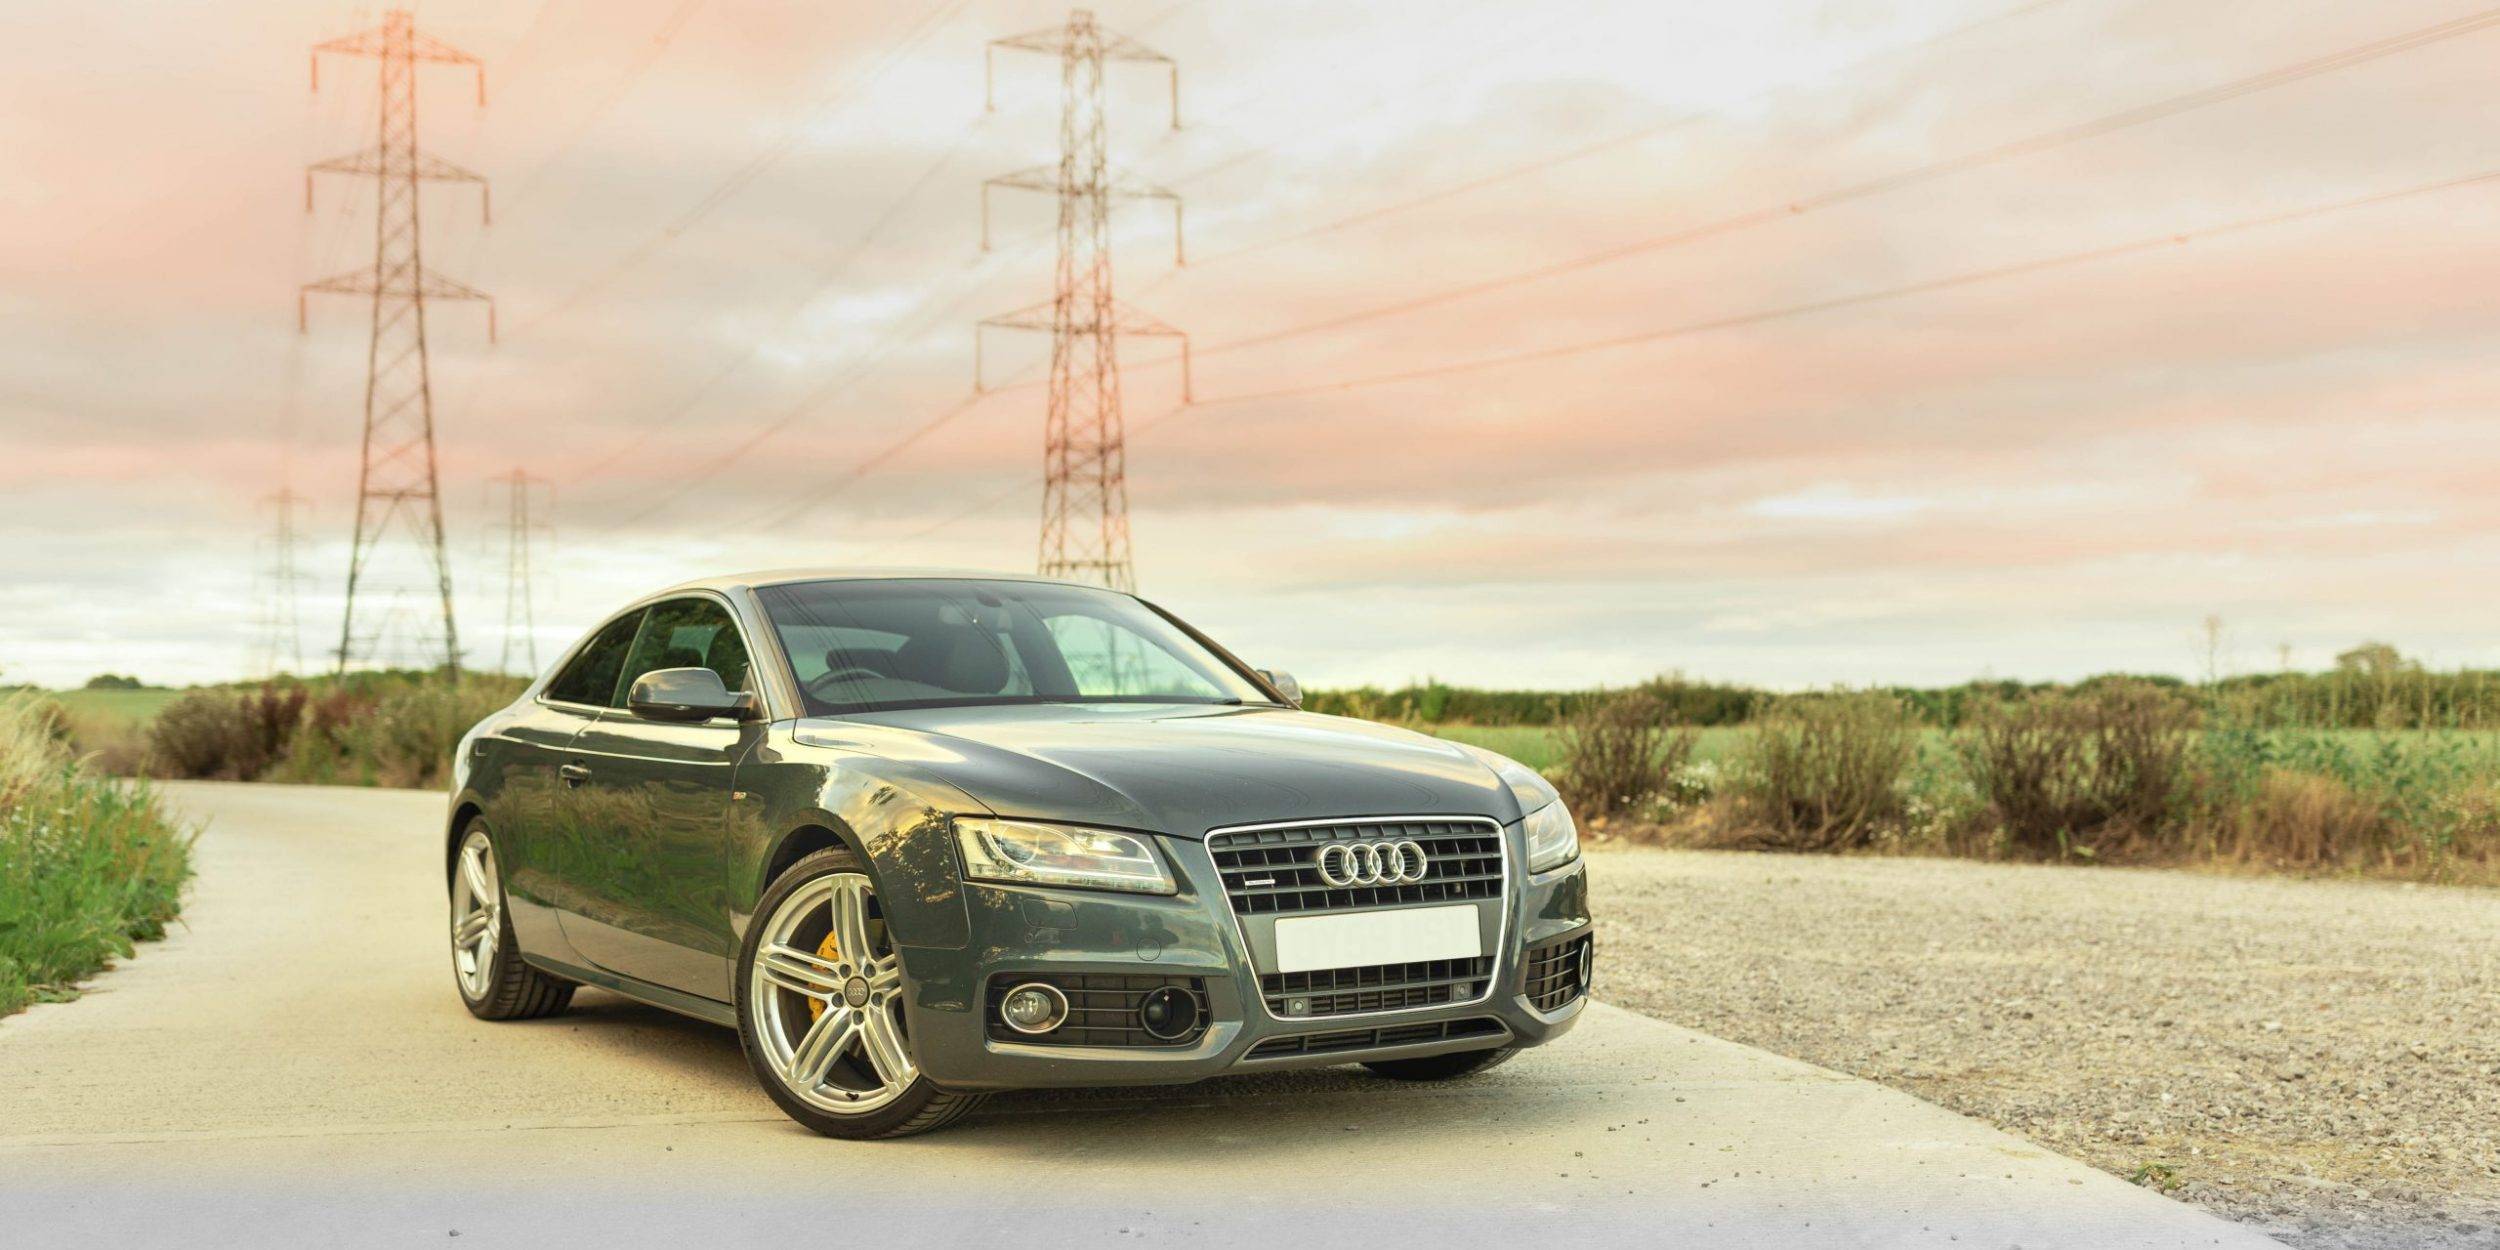
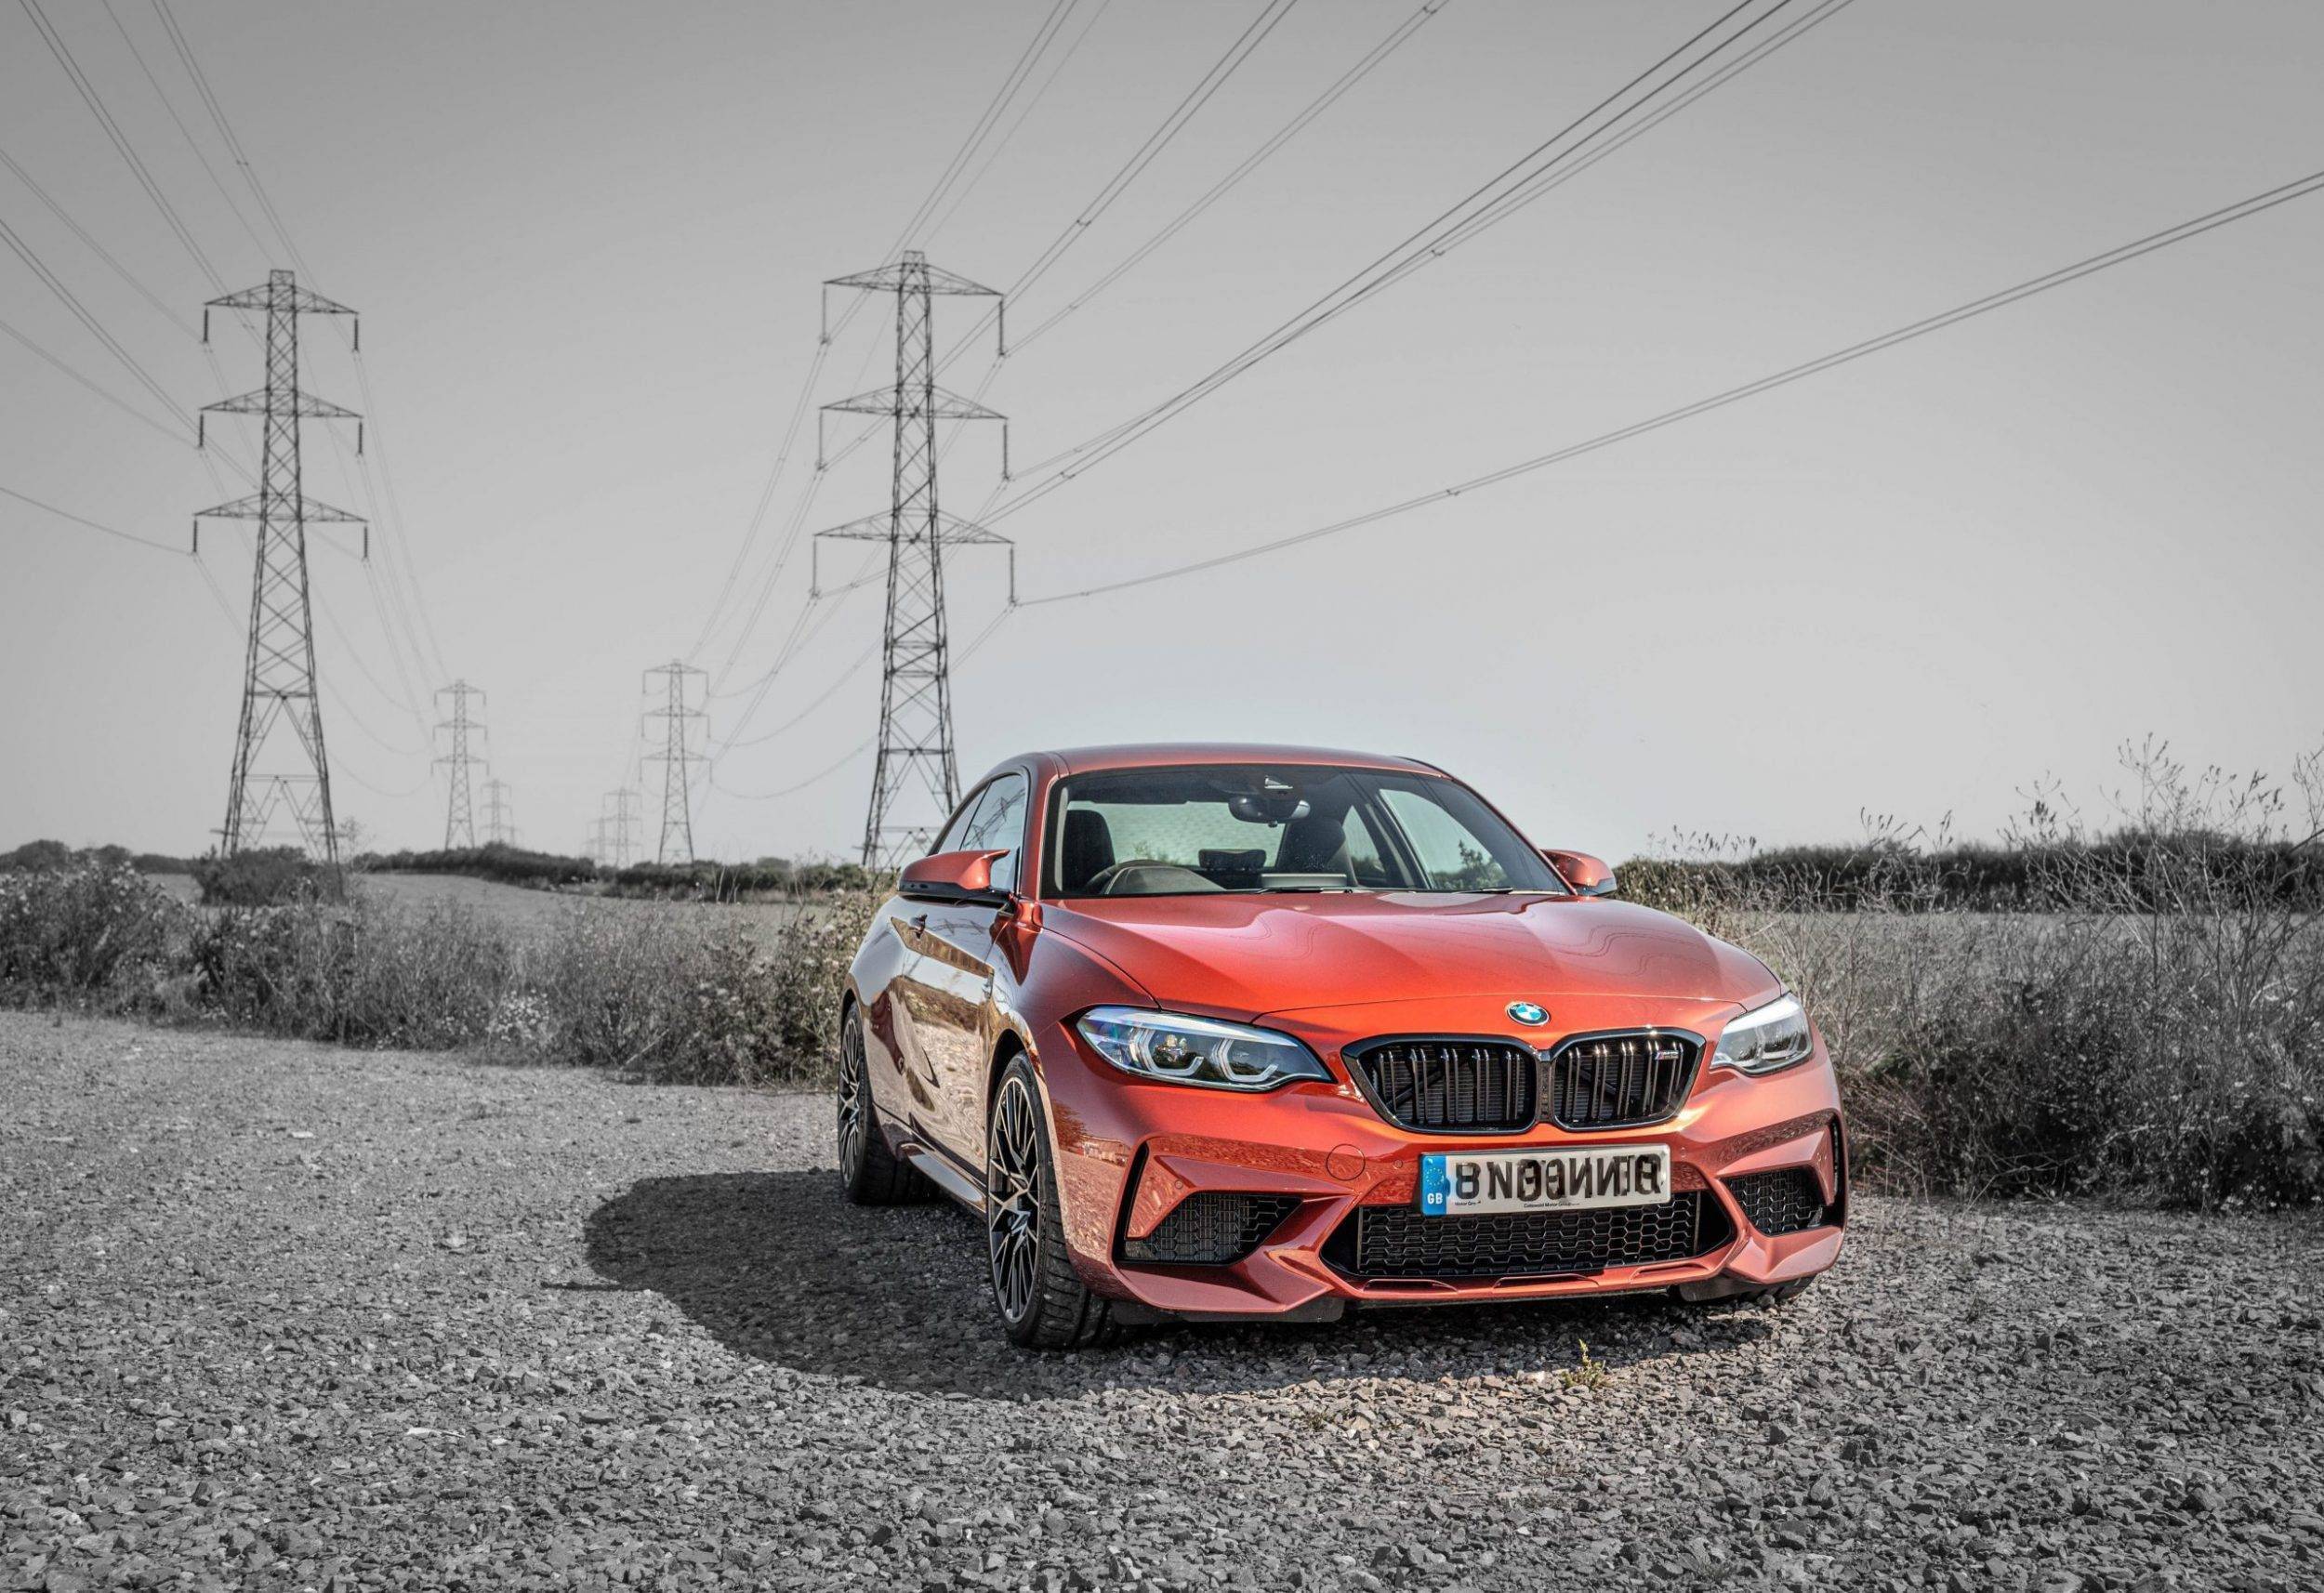
For technical reasons we won’t go into here, the human eye is naturally drawn to these four points in an image – so it pays to ensure the features you want to exemplify are at one or more of these points, in the example – the barn is across two points, and in the photo – the M2 covers two points with the grill and badge on the bottom spot as the main focal point.
Furthermore, as with portrait photography, cars have ‘faces’ – the headlights are eyes, the grill a nose, the lower gills a mouth. If you can get a headlight at one of these intersections, it can bring an image alive – the car greets the viewer on an almost animalistic, subliminal level. Grrr…

Backdrop Colour / Texture
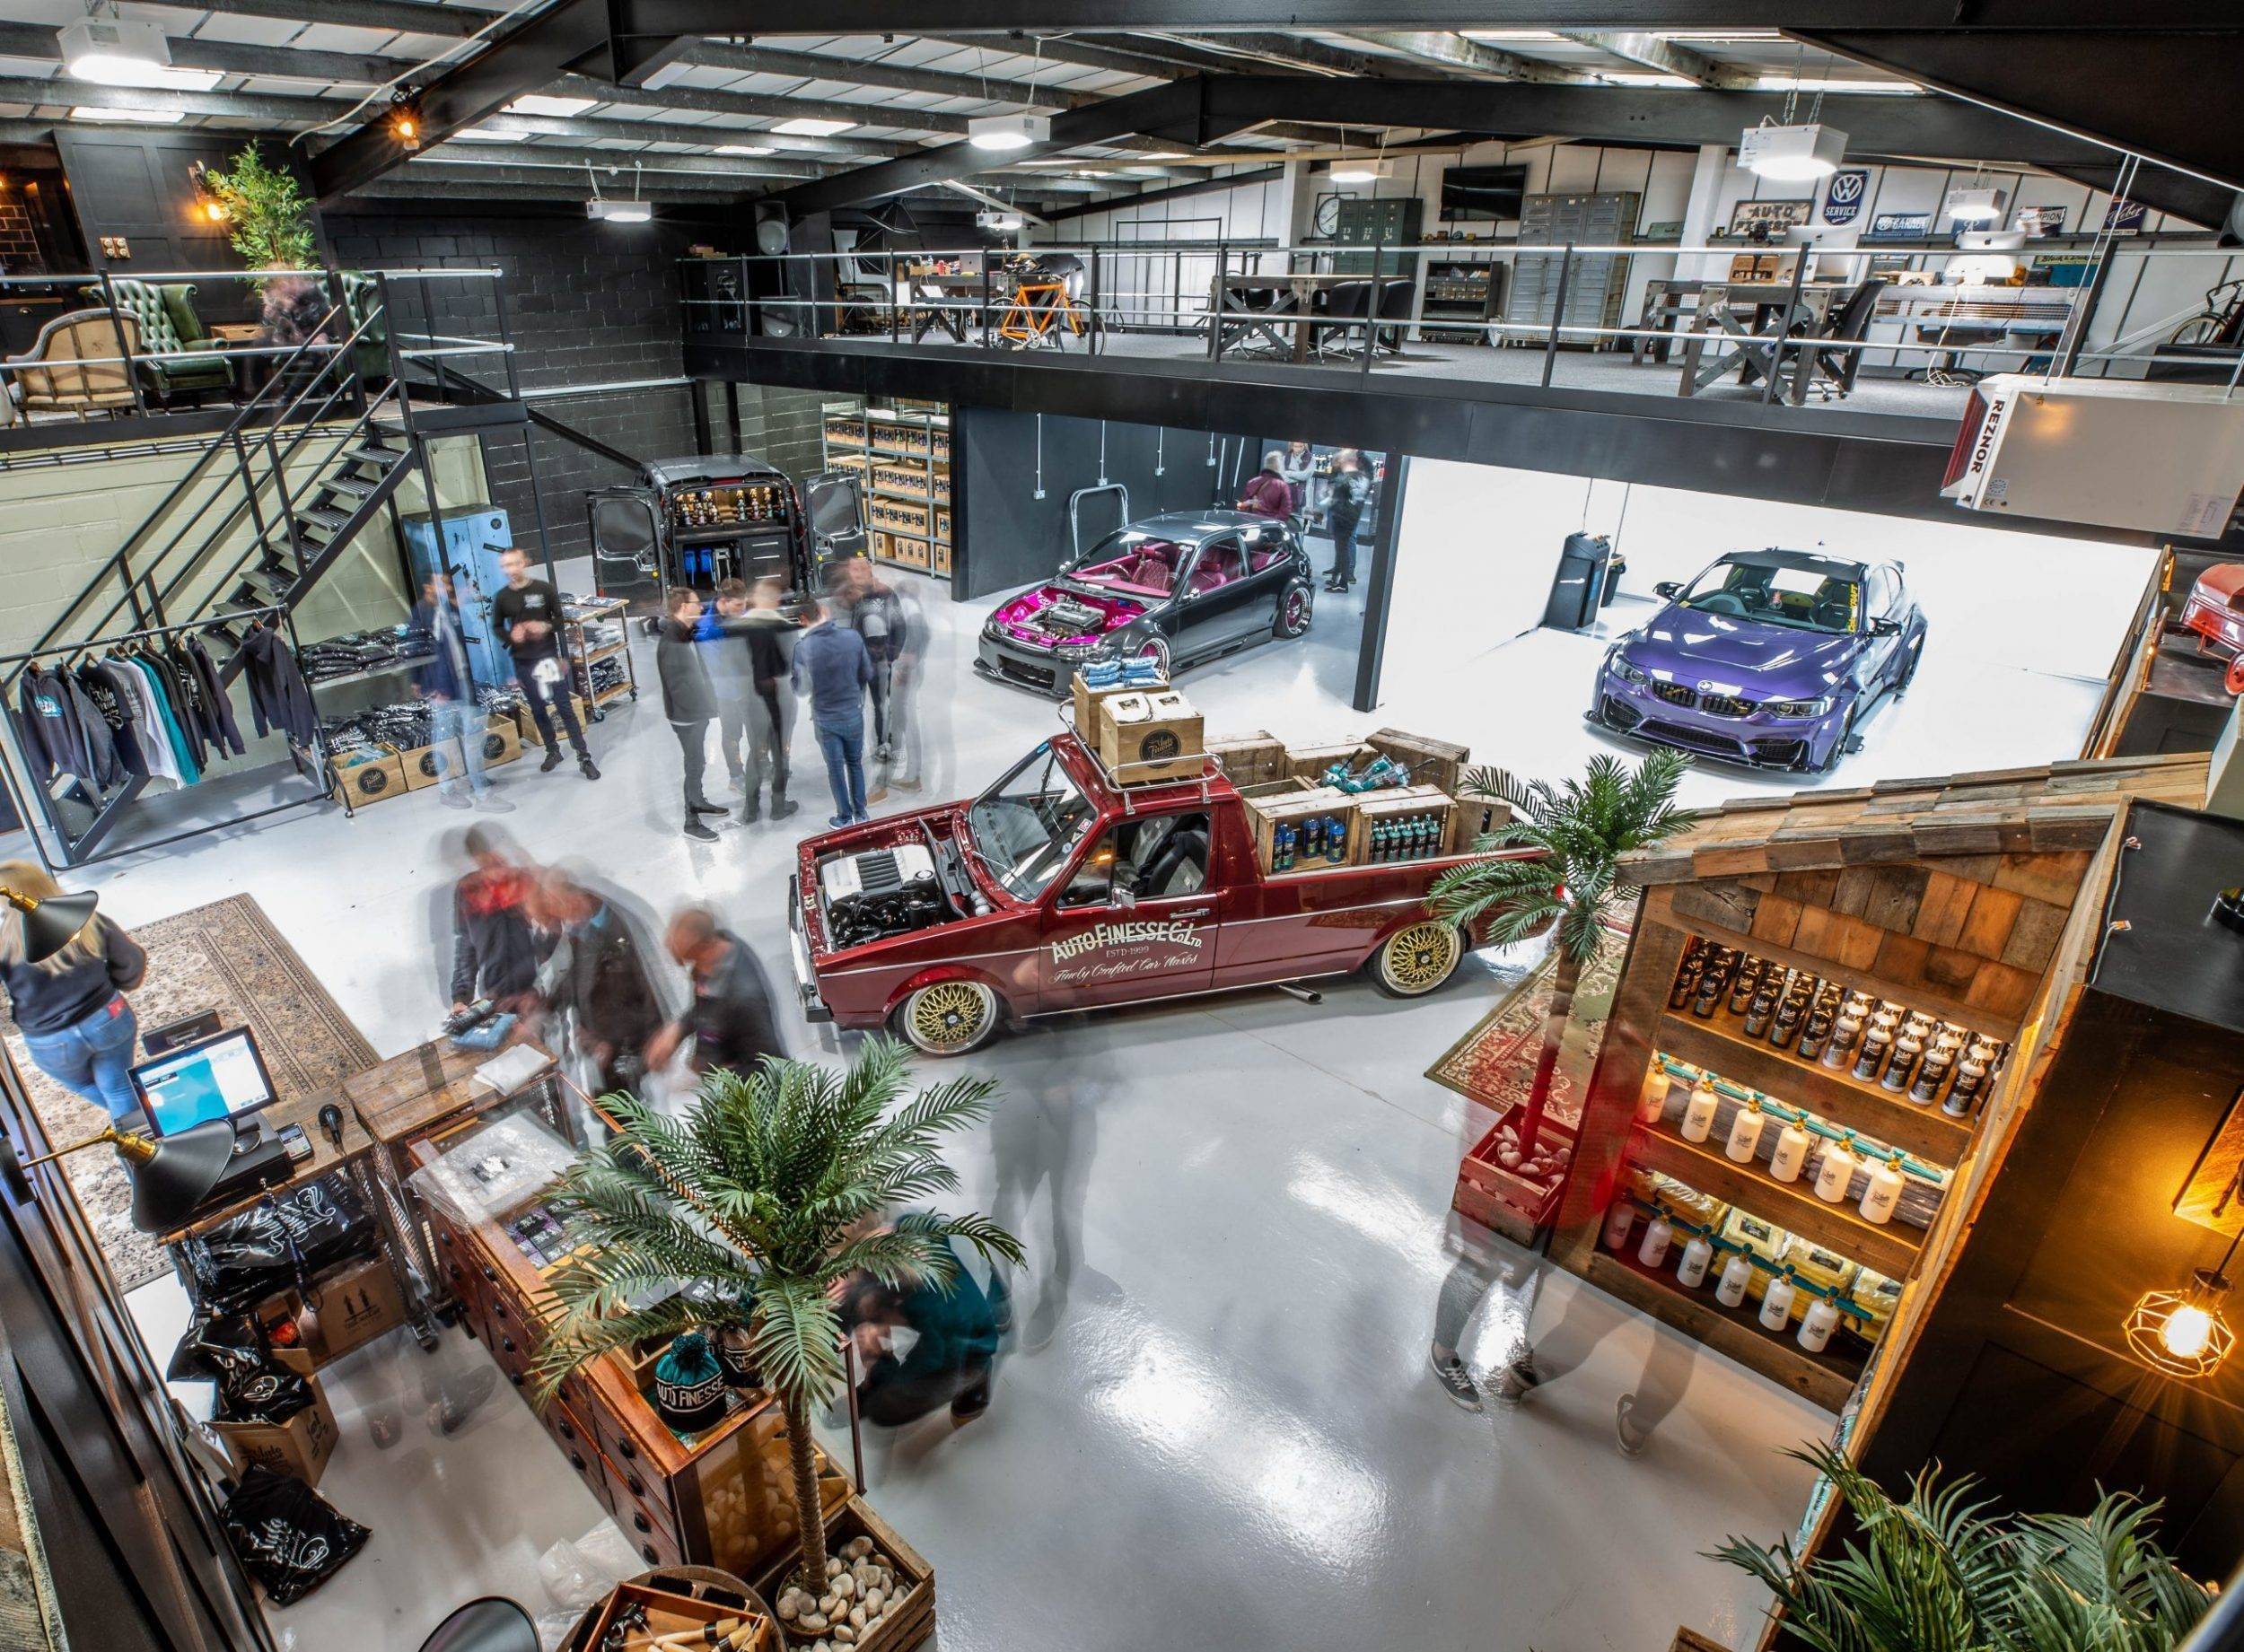
Our final tip is about matching colours and textures in the scenery around the car to work with the image as a whole. If you are trying to highlight the perfect glass-like finish, do not shoot against a rough textured background. Think also about motion – if you shoot something stationary with movement happening all around it naturally highlights it like the Caddy in this image.
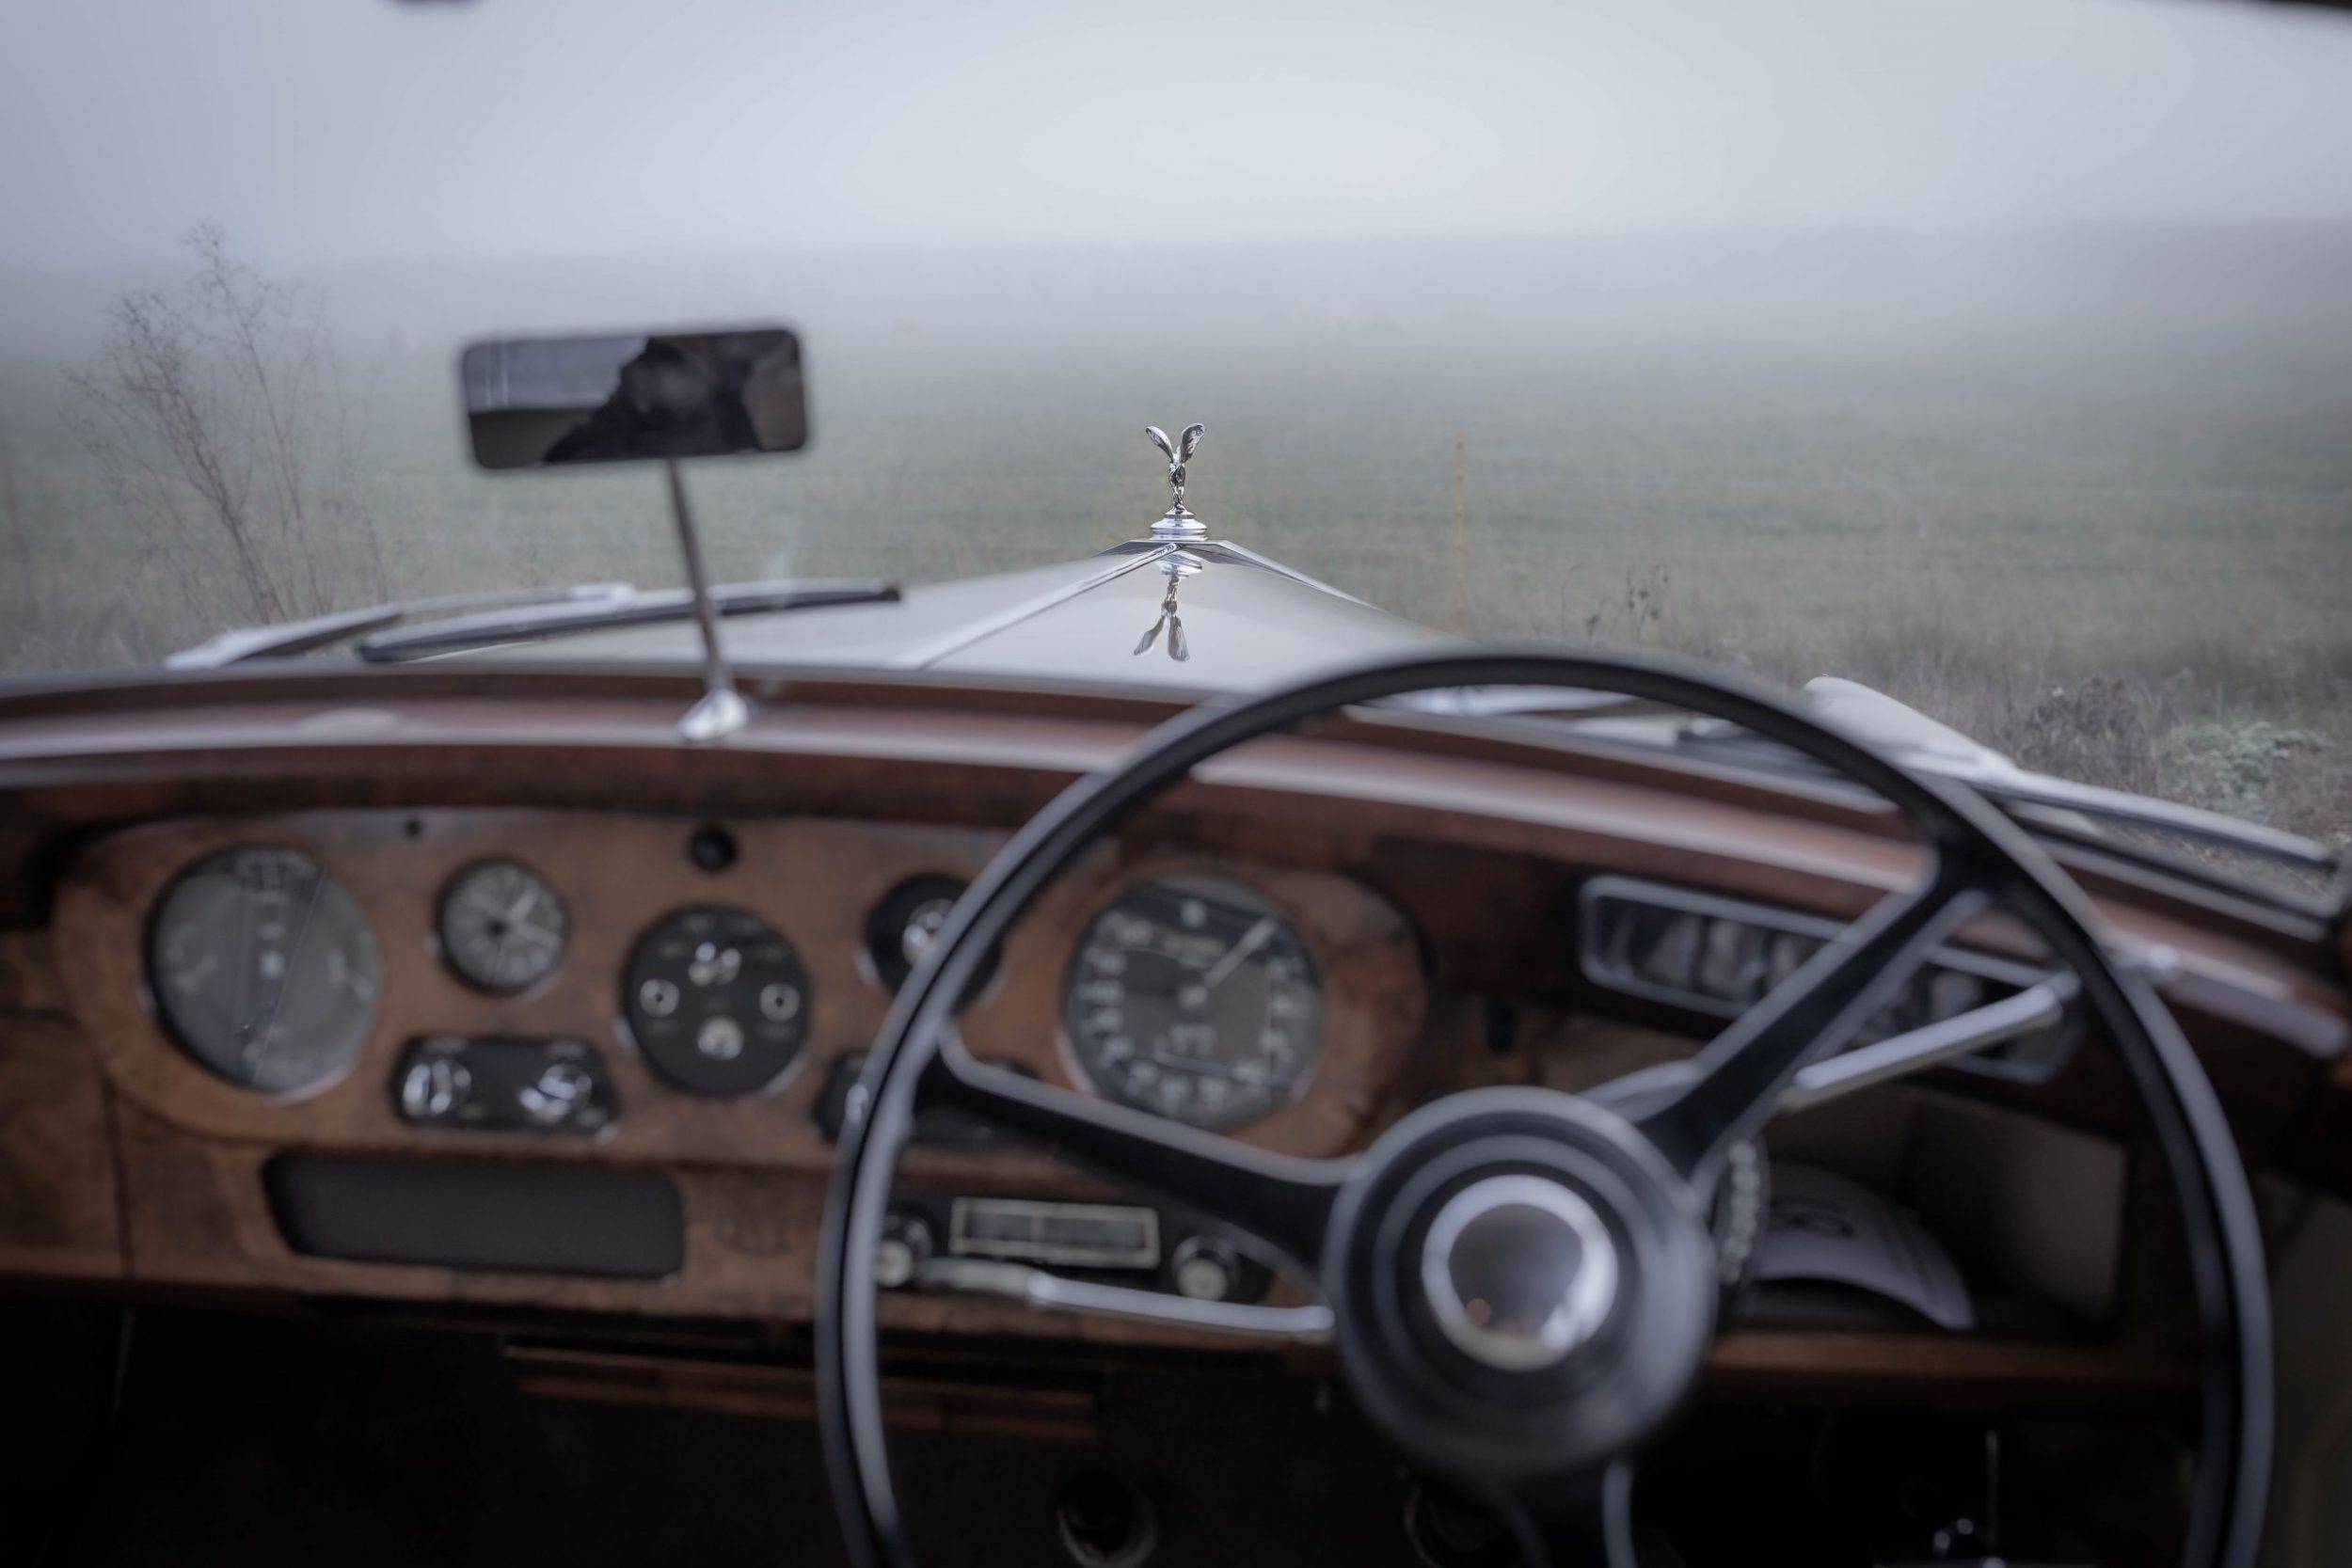
Also don’t just think about colour – in this image, it’s full of greys and browns, but combined with the cloud, it’s almost all matte – apart from what we wanted to highlight – the shiny chrome Spirit of Ecstasy atop the bonnet.
The UKDA photography course looks at both the ‘art’ and the ‘science’ of photography – it’s ideal for those who want the tools to take their photography to the next level. Ask any professional photographer and they will say the best way to improve your photography is practice, practice, and more practice – and give you the foundation that you can then go out and build on with your cars and those you work on.
Want to learn more? Check out our Photography for Detailing course page.